I don’t know what it is about undergarments that fascinate me so much. Maybe it’s that we take them for granted. We rarely think critically about our bra or panties or boxers when we get dressed in the morning, and I’d venture to guess that most people haven’t thought much about what came before (or what the future holds!) for the world of undergarments. There’s just something about those facets of life that usually go unnoticed that captures my attention.
So of course I was excited to make some Victorian undergarments.
I’m no historian, but I know that the chemise or shift was the next-to-skin layer for women in western cultures for a long time. Drawers were a somewhat later invention, but still predate our current style of undergarments. They were usually made of something easy to launder like linen or cotton, and they protected outer garments from the grime and oils of the skin. Since they were so simple, they were often sewn at home even if outer garments were purchased elsewhere. And that means that they make a rather good beginner’s project for the aspiring historical costumer.
Which is good, because I am definitely still a beginner.
Normally you wouldn’t see much of the chemise and drawers in an outfit, but for the Dream Fairy they’re the only – and therefore the outer – layer. So while it would be perfectly acceptable for them to be plain and functional, I wanted to put effort into making them look nice. In many ways, the chemise is the dress here, and it deserves that kind of attention.
To start, I needed some sort of pattern. I’m going for a fantastical interpretation of a late Victorian look, so I searched online for chemise patterns from that era. Fortunately, there are plenty to choose from! As I mentioned this was often a home sewing project, so there’s no shortage of sewing manuals detailing chemise construction. I picked this design from the Manual of Needlework and Cutting Out and set to work!
The basic construction of the chemise is really very simple: just a front and a back piece, identical save for the neckline. I sewed up the sides by machine and felled down the seams for a nice finish (my felling certainly isn’t the best in the world, but it’s nicer than a serged seam!). The armholes and bottom hem were finished in a similar manner.

The neckline required some gathers though, so I couldn’t just fold and stitch the raw edge. I cut out a strip of my fabric for a neckband and set the gathers into it. The Victorians were apparently very meticulous about their gathers: I hope they know I tried!

At this point the chemise was technically done. But since it’s going to be visible, I want lace and frills and decoration. And because I’m something of a craft-masochist, I was determined to make all my lace by hand.
Fantastic decision making from a time-management perspective, really.
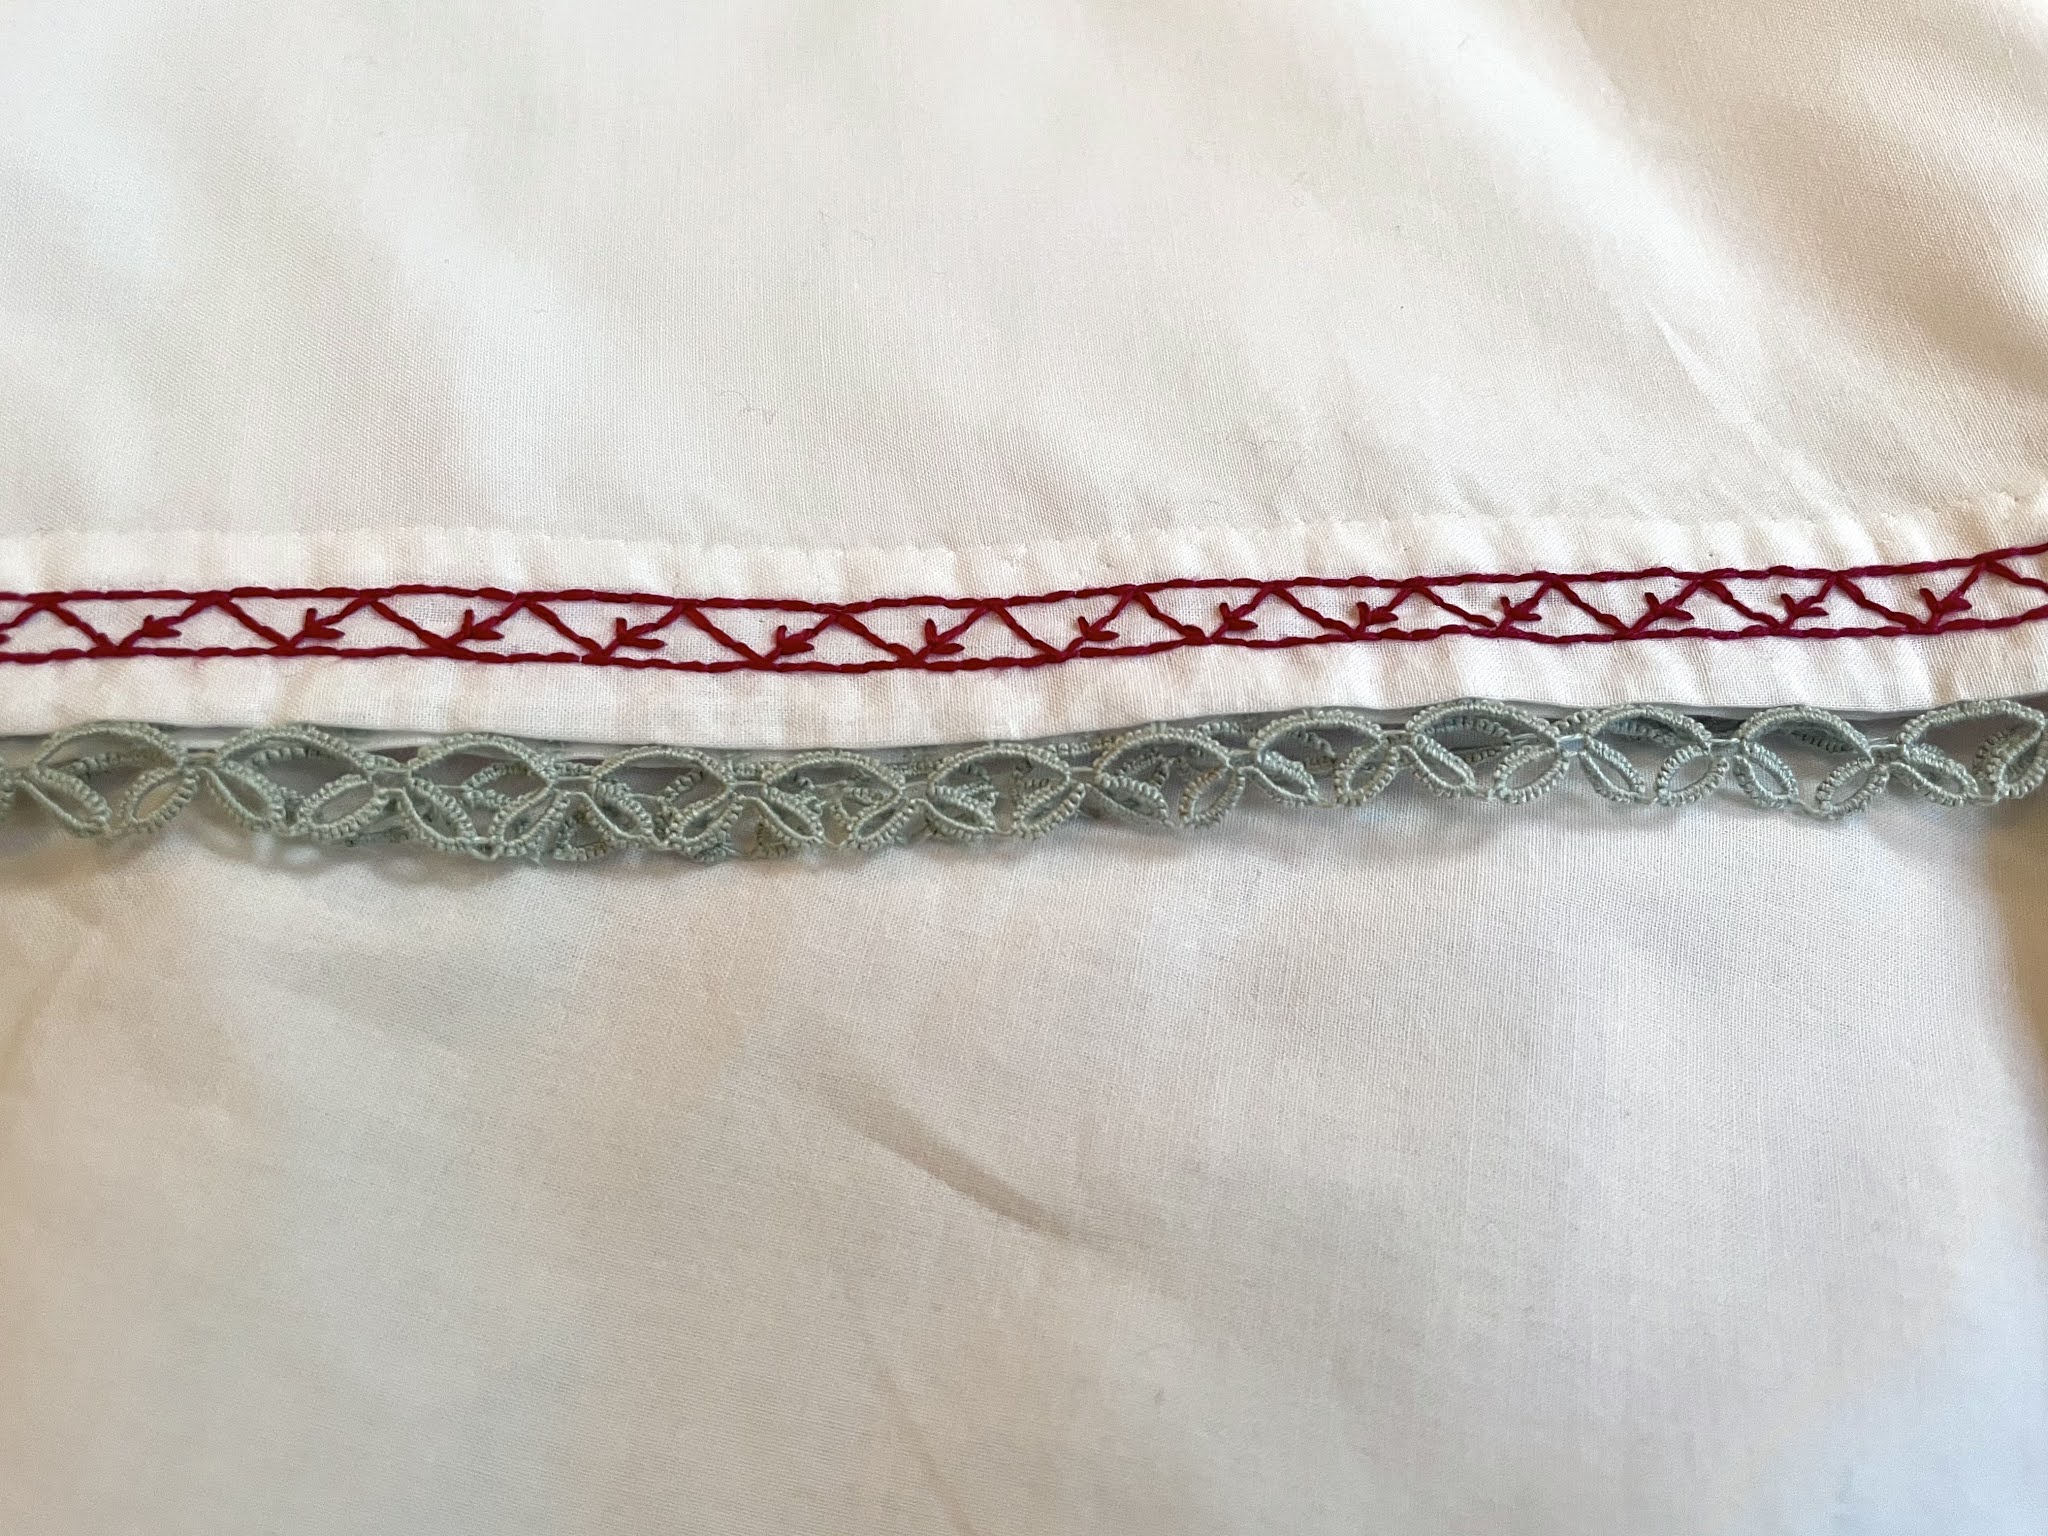
Anyway, I spend a stupid amount of time tatting enough lace (pattern from Beeton’s book of Needlework) to trim all the edges of the chemise, and stitched it all in by hand.
That still wasn’t enough though, so I found an embroidery design from another book (Artistic Embroidery) to add to the armholes and bottom hem.

There. That should do it. If I had more time I might’ve indulged in some insertion lace around the bottom hem but I’m cutting it close time-wise as it is, so I’ll just move on. (I can always add it in later, right?)
Next came the drawers, the pattern for which was taken from the same book as the chemise (here). Much like the chemise, sewing the seams and finishing the hems was easy enough, though I did have to alter the pattern a bit to fit my short short legs. The only difference was that the drawers needed a buttonhole in back to close them up. For the frills, I went for a wide crocheted lace pattern from Knitting and crochet: A guide to the use of the needle and the hook. I made the definitely-practical-and-time-conscious decision to double the length of lace needed so that I could gather it into ruffles.
I have made so much lace over the past year, guys. I have a problem.

But when it looks so frilly and fun, can you really blame me?
Most of the drawers are hidden under the chemise, so I didn’t bother with other embellishments. One of the cool things about these drawers is their construction: the crotch seam is completely open!

This served the very practical purpose of covering you up down there while still allowing you to use the bathroom without taking off all your skirts. I don’t quite have that problem with this costume, but yay for historical details!

And there they are, in their full glory! I tried to get a picture of them on me, but the fabric is... a little too sheer for my sense of modesty. At least on the top where there’s only one layer of fabric. My goal is to finish off this costume with a corset and that will solve the issue, but I’m not quite done and the deadline for the competition is a little over a week away...
...Which means I had better get back to it. Until next time, stay crafty!
No comments:
Post a Comment