Hey everyone. I hope you all are doing well, given the unpleasant situation we find ourselves in. Pandemic is a scary thing that seemed like it was tucked away into the history books, but I suppose we were mistaken about that. I won’t belabor the point here, but I just want to encourage you to practice good hygiene and social distancing, and to listen to what the experts in virology, epidemiology, and infectious disease have to say. And during this strange time, I hope you will join me in taking comfort in the small joys of crafting and creating something beautiful.
I hardly need an incentive to start new crafts, but being stuck at home, untempted by all the new supplies that I could buy at the store, makes me want to follow through with some unfinished projects that have been lying dormant for months. To that end, I began with one of my newer craft skills: linocut.
Some of you may remember that I made my first foray into the world of linoleum block printing during New Years 2019, where I made a design for some festive new years cards. Shortly after that, I bought another larger block... and couldn’t figure out what to do with it. 5 x 7” is a lot of space when you only have one color to work with, and I wanted a design that would be useful for longer than a single holiday. There were plenty of beautiful lino prints online to see, but I didn’t want to simply copy someone else’s work, either. It wasn’t until early fall that I hit upon a topic I really liked: butterflies. Their large wings and dramatic patterns would make a perfect candidate for a print, I thought. So I set to work.
I’m not much of an artist when it comes to realistic sketches, so I turned to the internet to help me find a good image to use. I wanted this butterfly to be realistic in terms of proportion and patterning. I came across the Smithsonian National Museum of Natural History’s online collection of pinned insects, which includes detailed photos of a wide variety of butterflies. The best butterfly for this one-block project would have just a two colors on its wings (the ink color and the paper color), so I scrolled down the list and settled on the meadow fritillary. It’s a bit less mainstream than, say, a monarch, but just as beautiful.
With that, I printed out the image in a size compatible with my linoleum block and got to tracing! Tracing this image wasn’t quite so simple as following every line I saw: I had to be conscious of which areas would be the ink color, and which would be removed to show the background color. Unlike in real life, there are no subtle gradients in a linocut like this. Still, it was much easier than trying to draw such a detailed butterfly freehand! After tracing, I got an image that looked pretty similar to the original butterfly, only simplified.


Then it was time to transfer the image to the linoleum. Linoleum takes pencil marks well, so I used the old trick of flipping the pencil drawing over on the linoleum and rubbing a spoon on the back of the paper to transfer the marks. Then I darkened the marks on the linoleum itself with some pencil, just to make sure I’d be able to see well while cutting.

If you’ve never done it before, cutting linoleum is kind of weird. It’s not like wood because it doesn’t really have a grain, but it’s not quite as soft and pliable as soap or wax. Honestly the closest thing I can think of is those hard pink school erasers. I spent a lot of time digging my thumbnail into those things in order to make designs. Then, I’d take my pencil and slowly work a hole into the center of the rubber, all while completely ignoring whatever was going on in the class!
Anyway, back to linoleum. My first few prints didn’t turn out so great. It seems that the bigger the block, the harder it is to get a good clean print. I made the mistake of putting waaaaay too much ink on the block, and everything turned out blobby and undefined.

But practice and learning from your mistakes does wonders! It took a lot of tries, but eventually I got to a point where the prints were turning out pretty nicely.

They’re still not perfect, but honestly I think that imperfection is charming. And the block will be there for me if I learn a new printing trick and want to try it out. For now though, I’m happy with what I have, and I made a few of my best prints into a wall hanging!
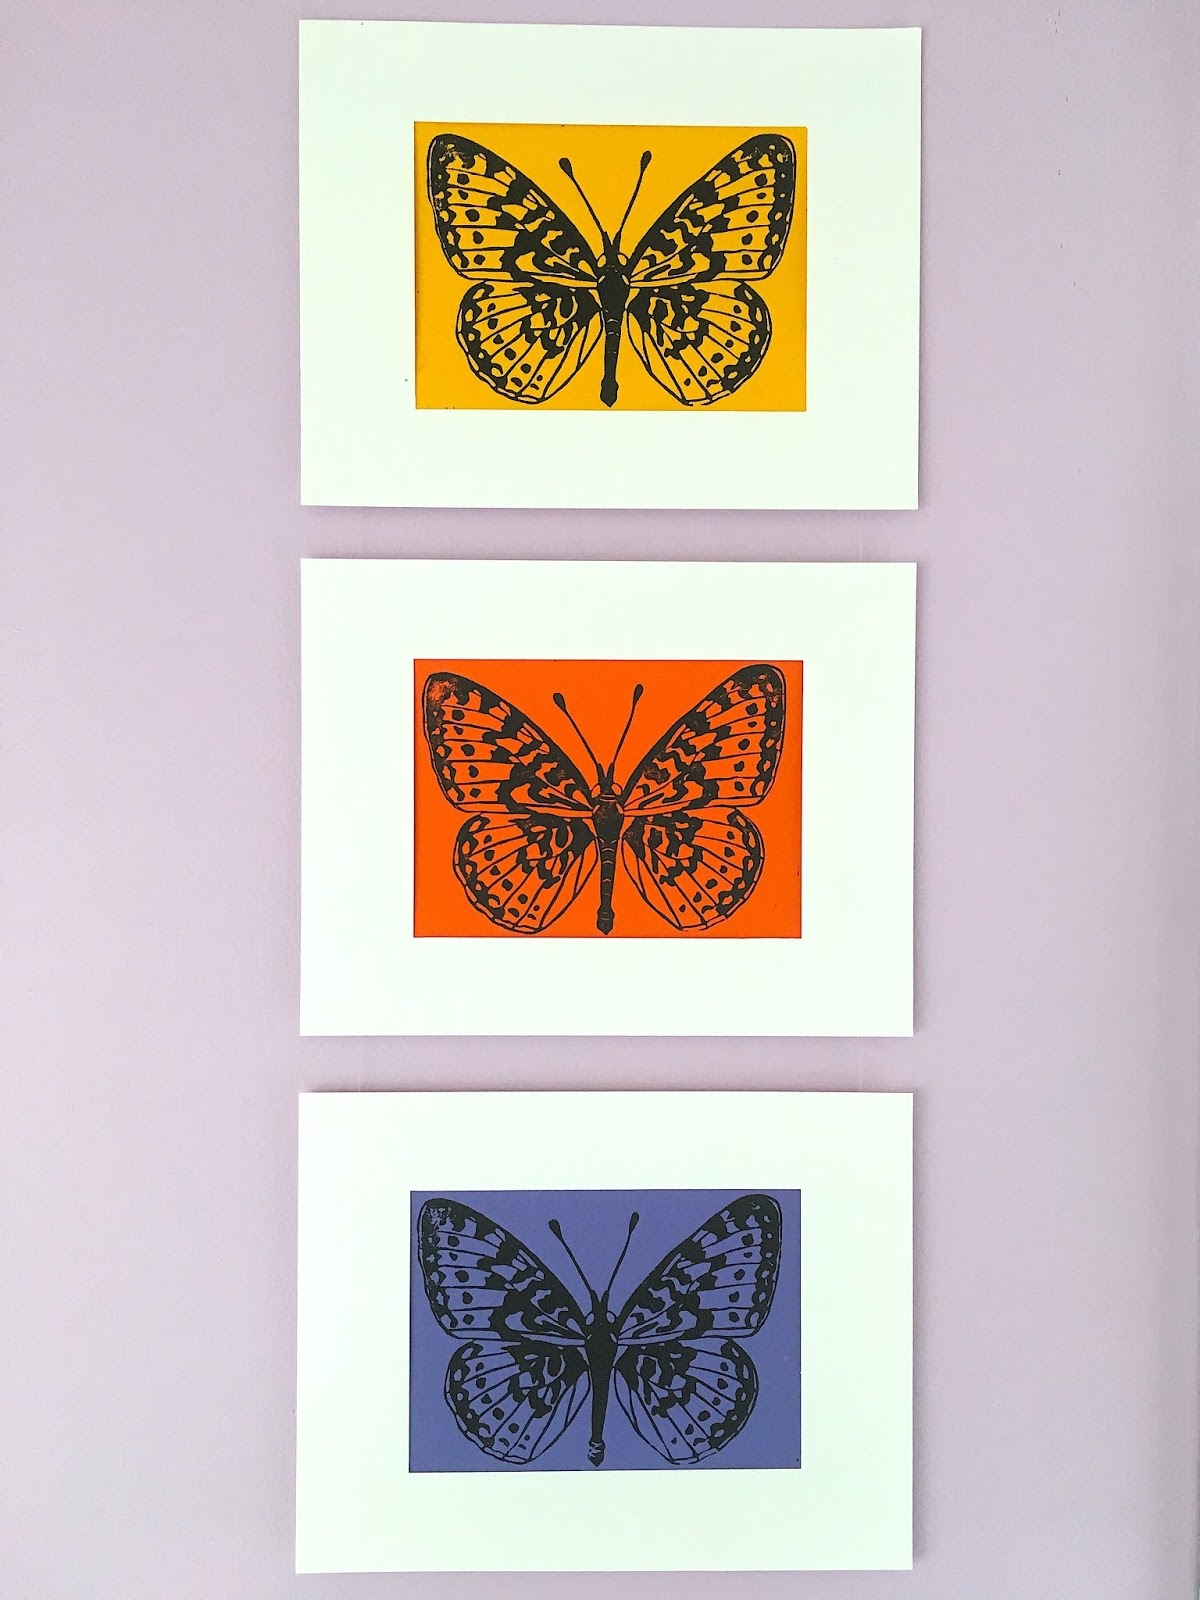
My apartment walls are still rather bare, and these butterflies will do well to liven up the place a bit. Maybe I should make a whole insect linocut series! Regardless of what I end up doing next, I do hope you’ll stick around to see it. Until next time, stay safe, stay well, and stay crafty.


