Showing posts with label mittens/gloves. Show all posts

Thursday, May 2, 2019

"Woven" Warmth

Spring is well and truly here, but I'm still in winter-crafting mode. The chilly rains and dreary skies have me searching for projects that are warm, but not quite dead-of-winter-knits warm.

Which is to say, now is the perfect time to turn to thinks like fingerless gloves! I get cold fingers at the drop of a hat, so having a variety of hand coverings gets me all the way from October to April. I broke out some of my pattern books and found a prime candidate from Sock Yarn One-Skein Wonders. The pattern? "Woven" Fingerless Gloves by Laura Hein Eckel. They looked super cute, and quite easy. Exactly what I needed for some relaxing knitting after a busy day.

There was one problem I didn't consider though. I had no free sock yarn to make these mitts with. Everything I had was either reserved for another project, or too little to make two gloves with (and I did need two of them). I did have dk weight though...

It's not something I would recommend for a first or second project, but if you have a few projects under your belt, you can modify patterns for slightly different weights of yarn. Sometimes all it takes is moving up or down a few needle/hook sizes: check your gauge and see where you are.

If you can't get gauge with your new yarn, fear not. Measure what gauge you do have. With the power of math and this measurement, you can still make patterns work! The trick is to find the major measurements of the pattern, and adjust the number of stitches to match. Sometimes, patterns will tell you what these measurements are. A hat pattern might tell you that the circumference at the brim is 20 inches. How many stitches do you need then? Take your gauge, in the form of "X stitches per inch", and multiply it by the number of inches wide you need your piece to be. There's the answer! As long as you follow the major measurements (in both length and width), you should get the right shape. Lace, cable, and colorwork designs may need to be modified to reflect the new stitch count, but a strategic repeat added or removed usually takes care of the problem. Less shaped items (like hats, scarves, and fingerless mittens) are easier to modify than more complicated ones, of course, but with some trial and error you can modify almost every pattern.

(As a side note, please make your gauge swatch more than an inch long. The longer it is, the more accurate your assessment of gauge will be. Dividing the number of stitches in the row by the length of the row gives you the measurement of "stitches per inch".)

Well, that was a roundabout way to explain how I used DK yarn for a sock yarn pattern. The results turned out quite well I think!


Saturday, January 12, 2019

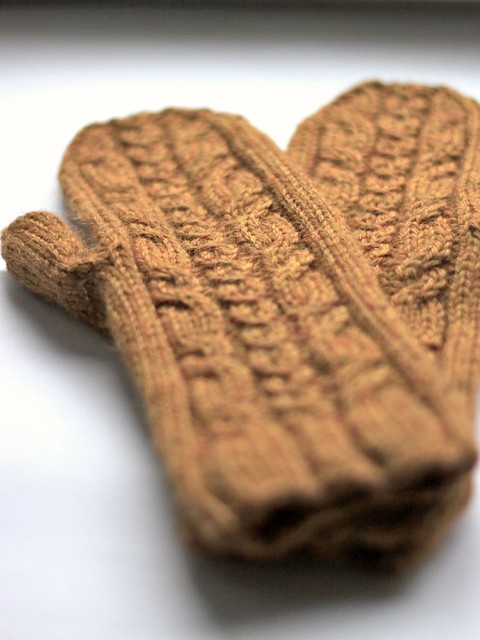
Frankenmittens

Ahhh, it feels nice to be back on a weekly schedule. I don't know about you, but I like a steady stream of crafts in my diet. And in the winter time, those crafts are mostly suited to the cold.

To be honest, I made these mittens a few months ago in preparation for winter. I've had so much other stuff to show you, though, that I haven't gotten around to photographing them until now. These are the creations that I've affectionately christened the Frankenmittens.


...Okay, so maybe the name isn't obvious. They're not green or patchy. They don't even have a bolt sticking out of them! The reason that I call them Frankenmittens is that they're actually an amalgamation of two different patterns. I really liked the cable pattern on these Dwarven Mittens, so I started out knitting those. The only problem? Well the pattern is.... okay I'm just going to be honest here, it's kind of terrible. The instructions weren't clear at all, and even as I was trying to figure them out, they didn't look like they'd make a very nice mitten shape. The only thing that was good about it was the cable chart. I frogged the project. I should really just find another pattern.

Ohhhh but I really liked that cable chart.

So I did a stupid thing. Not a stupid thing in general, for an experienced knitter who's made enough mittens to know her way around a thumb gusset, mind you. But I am not an experienced knitter. I've knitted exactly one pair of mittens in my life. You could  count the number of knitting projects I've completed on your fingers. It would not be advisable for me personally to, say, combine two separate patterns to make my ideal mittens. But I'm not one to wait around for crafty qualifications, am I?

So I went ahead and did it. It would probably be easy for people with experience. I did not find it so easy, but I did do it! I used the base pattern from the Syänamaa Mittens that I made last winter, because I liked that pattern quite a lot back then. And I have to say, it worked really well! They're warm, they fit well, and they look nice to boot! I'm glad I took a chance making my Frankenmittens.

Thursday, April 19, 2018

Pattern Review: Sydänmaa Cabled Mittens

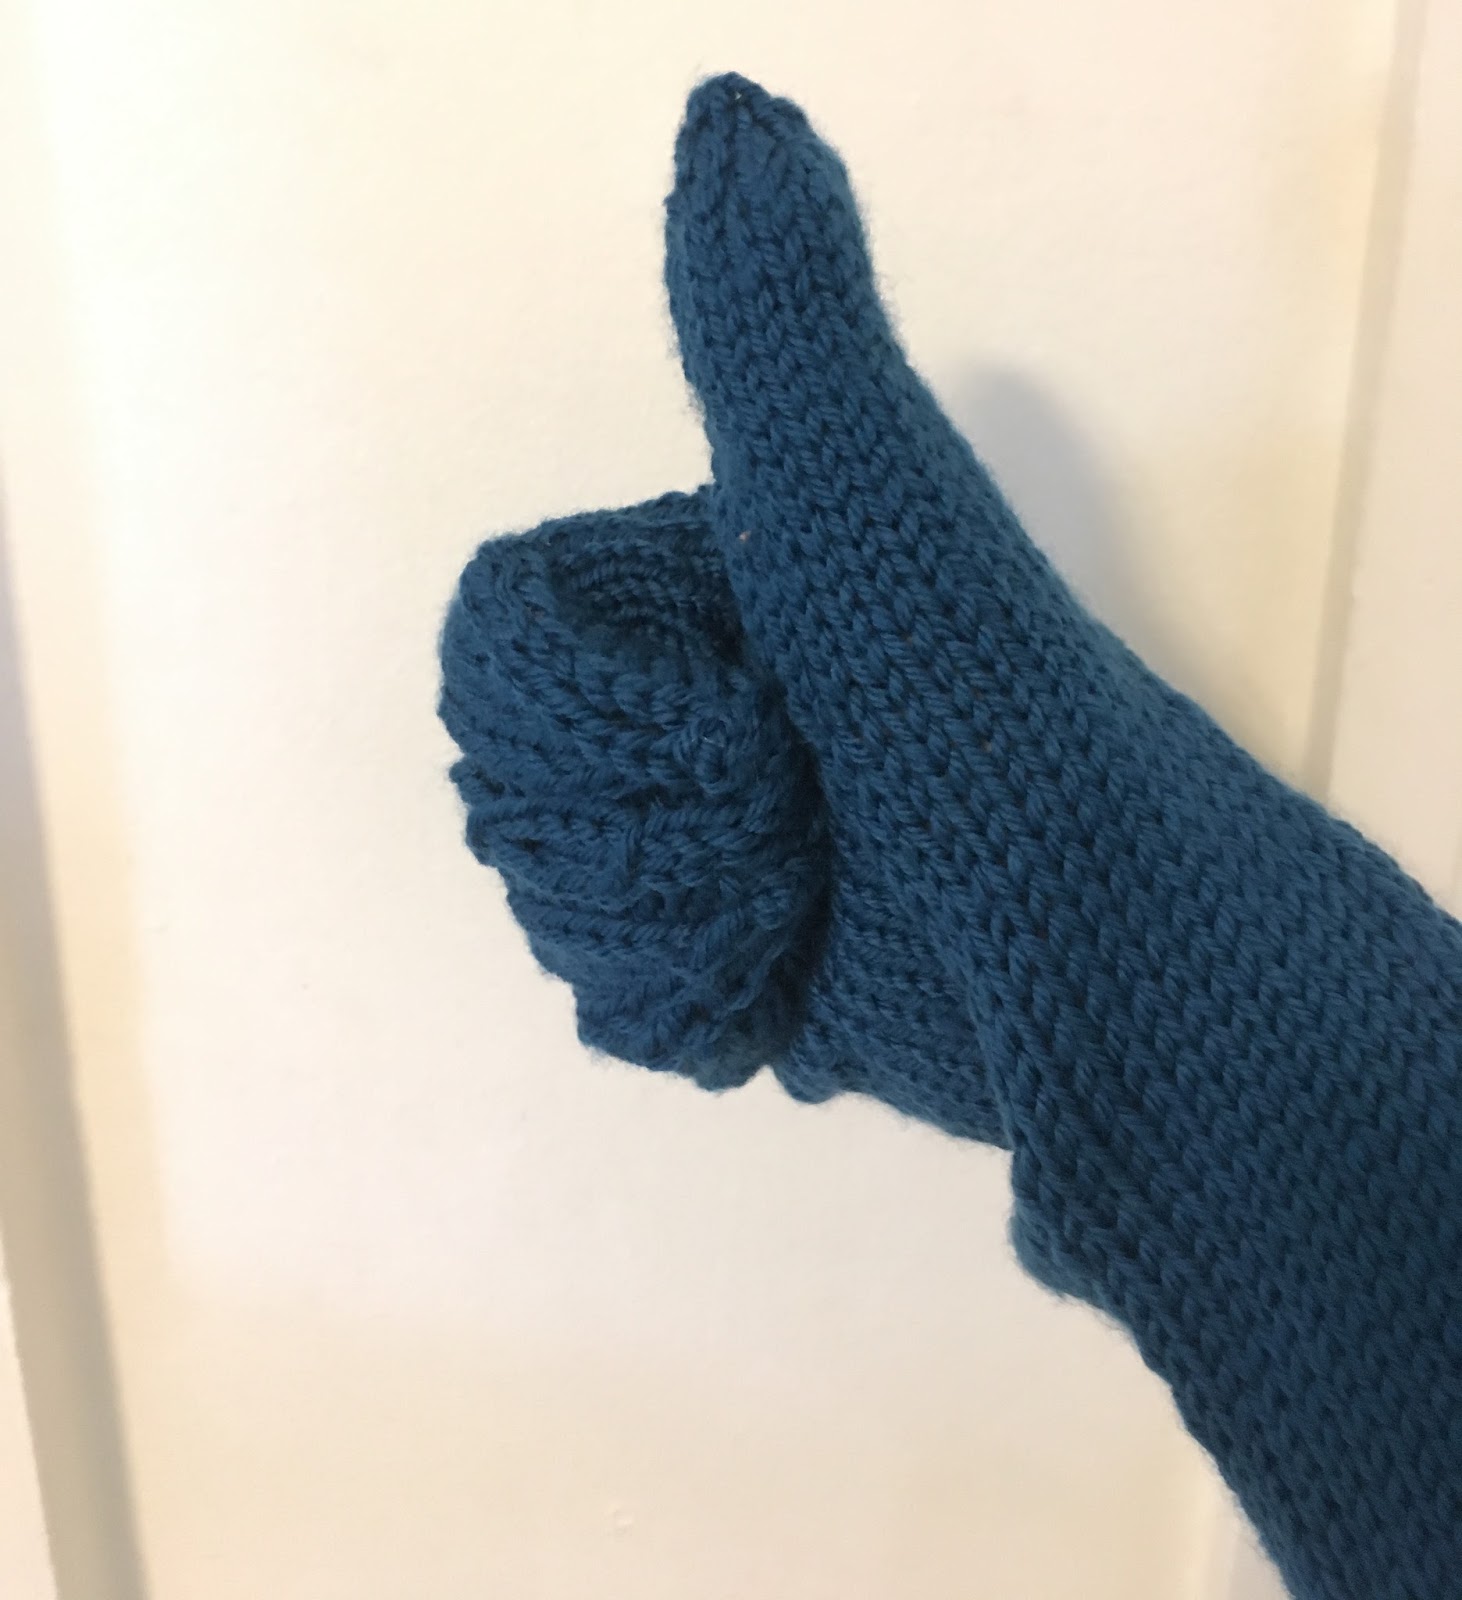
Cables! The quintessential knitting technique! Of course, I had to try them (and much sooner than anyone would recommend to a beginning knitter). I had a ball of Cascade 220 worsted in a lovely teal color, so I figured mittens would be a good idea. I came across this pattern, called Sydänmaa (link here), which I quite liked:


Don't fear the Finnish title: the pattern is available in English. For the curious, "Sydänmaa" means "heartland" in Finnish. I did try to learn the language a few years back at the behest of a friend, but languages just don't come easily to me. Unless we're talking the language of crafts! Speaking of, I took to a borrowed pair of double pointed needles to try Sydänmaa myself.


The results! These mittens were clearly made for someone with much longer fingers than mine. I cut out an entire pattern repeat and they still fit fine. I can't say that I'm a huge fan of how long the wrist sections are, either, but that's a personal stylistic choice rather than one of fit.

The charts were easy to read even for a beginner, and the shaping of the thumb fit my hand nicely once I corrected for length. I liked the style of the cables as well, though those could be changed fairly easily if you wanted to try something different on the backs.

Overall, apart from the length issue, it was a good pattern. Clear instructions made for a fine result that was easy to adjust to my hand. To conclude:


Thumbs up for Sydänmaa!

Thursday, February 15, 2018

TAZ Cosplay: Finished Gloves

That didn't actually take too long: I just got busy with other things! Gloves really are pretty easy when you're working with such stretchy fabric. I put them on once to let the fabric run wherever it wanted to, then I turned them inside out and made a couple of stitches to catch each running thread and secure it. There was probably an easier way to fix them, but I was itching to finish and did the first thing that came to mind. A quick-n-dirty overcast stitch on the cuff was all that I needed to prevent more runs and finish them up!


I decided against lacework on the cuffs like I had originally planned. With the slightly uneven hem and rips, it didn't feel like fine lace matched up stylistically. Don't worry though, there will definitely be lace elsewhere!

Thursday, February 1, 2018

TAZ Cosplay: Glove of my Life

I'm a bit of an impatient person, so I decided to start this project with the materials that I had at hand. Rummaging through my fabric bin turned up about a yard of black knit polyester fabric, just what I had in mind for a pair of gloves. Making a simple pair of gloves with stretch fabric is really easy: just trace around your hand, add a bit of seam allowance (how much depends on the stretchiness of the fabric) and sew! I wanted the gloves to be half-full, half-fingerless, so my pattern ended up looking like this:


I don't have access to a sewing machine at the moment, so I opted for hand stitching the gloves. In some ways it was preferable, since the slippery knit fabric would be a pain to sew by machine. I did a quick test glove since I had fabric to spare, and I'm glad I did, because the moment I tried it on:


Rrrrrrip! Giant runs opened up down the length of the glove, since I had forgotten to do anything to the raw edge. This is why we test things before committing! Upon review, I decided that I rather liked the look of the runs: it fit with the punk-y style of the outfit, and so I revised my plans. Instead of embroidering alchemical symbols onto the back of the gloves, I would let them run a little, and then secure the runs so the gloves didn't completely unravel. Then, I would fix the raw edge with an overcast stitch, so that new runs wouldn't form so easily. 

Oh, and I made one more alteration to the two-fingered glove design, since I was already going punk:


Perfect!