Showing posts with label planning. Show all posts

Saturday, March 6, 2021

Sweet as Honey

 Now that I’ve got my big, all-consuming project out of the way, it’s time to focus on some of the smaller things I’ve been meaning to get around to. I’ve already spent a good month or so getting through some of the half-finished knitting and crochet pieces lying around, and now I’m ready for something new.

One of my goals this year is to end with less yarn than I started with. I was going to resolve not to buy any more yarn but… come on, I need to be a little realistic! I rummaged around my stash for inspiration and came upon most of a cone of yellow alpaca silk lace, leftover from my big special occasion shawl. I wasn’t really feeling another lace-weight project, but held double it acted like a fingering. After weighing it and doing some math, I figured I’d have just about enough for a sleeveless top. Perfect! Now to find a pattern.

The color reminds me so much of honey, so I knew I wanted a honeycomb-inspired design. I went searching for just that… and it came up blank. There are certainly patterns with a honeycomb texture, but they’re all sleeved sweater and baby clothes, not the tank top I wanted. I briefly debated trying to reconfigure one of the existing patterns, but it became obvious that it would be a lot of work. Like, I-might-as-well-just-make-my-own-pattern amount of work.

Wait.

Wait.

That’s exactly what I should do!

A sleeveless top is basically a cylinder with some holes in it, right? A tube plus shoulder straps. I could do that. I made a sketch.

(Should I apologize for the creepy mannequin face? I didn’t feel like drawing actual features.)

Yeah, something like that would work. It did need a bit of math to get the dimensions right, though. I got out my tape measure and measured some key points on my torso, including both circumferences and the vertical length between each (nothing worse than becoming the unwilling owner of a crop-top!). I added a few inches to each circumference to get a slightly relaxed fit, and so I could fudge the hip and bust measurements to equal each other (it just makes the math easier).


To go from inches to stitches and rows, I needed a gauge swatch. I was really, really careful with the gauge swatch on this one. I measured down to an eighth of an inch. And then I measured again in centimeters. I didn’t get a second ruler out, but maybe I should have, for reproducibility’s sake?

Where was I? Oh yeah, math. Big thanks to my high school chemistry teacher for making me do a million unit conversion problems. I don’t think you intended me to use it for knitting, but I’m not exactly converting grams to moles in my day-to-day work either, so. I’m repurposing this skill.

After a bit of though and consultation with knitting friends, I decided to make this top in two pieces: front and back. I could knit in the round, but honestly my circular needles aren’t the best quality, and adding seams would strengthen the garment overall. The only downside is that I won’t be able to try it on for fit until it’s nearly done. Here’s hoping my math holds!

With all those logistics out of the way, I’m just now starting to cast on. Most of the body is plain stockinette and pretty boring (why do I keep doing this to myself?), so I’ll check in with you all once I get to the interesting textured bits at the top. Until then, stay crafty!

Saturday, May 30, 2020

Dreaming of a New Project

Hello, friends! I hope the weather has been as lovely in your corner of the world as it has been for me these past few weeks, because it really is nice outside. I’m savoring all that spring has to offer before the heat of summer truly kicks in.


That’s not what I came to talk about today though. No, I realized a while ago that I’ve gone over six months without having a big costume project to work on. Six months! Half a year! Do you know what that is?


Unacceptable, that’s what! So I’ve set out to fix the situation by entering the annual Foundations Revealed competition. For those of you who don’t know, Foundations Revealed is a membership-based resource for sewing, especially historical sewing. I’m not personally a member (grad student budget, anyone?), but I happily gobble up their free resources, and I’d love to be a member someday. Each year, their competition has a theme, and this year’s is characters from literature (poems, novels, short stories, etc.). No character came immediately to mind, so I went searching and happened upon a poem by Thomas Hood titled The Dream Fairy. In it, the eponymous fairy comes down from the moon to grant dreams to good children. It’s a cute poem, and it gave me a similarly cute idea for a costume.


(As it turns out, tracing over a photograph is the fastest way to get realistic proportions for your design sketch. I have no shame.)


Art skills aside, let me take you on a tour of the plan. I’ve been itching to try my hand at some historical sewing for a while now, so the costume is based on late 19th century undergarments. Dreams are something of a transitional state, between sleep and wakefulness, so I want to capture that feeling in a “transitional” type of dress, as if the fairy were caught changing clothes. Plus, undergarments are typically simple and easy to make: an ideal first project! The specific pieces I’m going to make are a chemise, drawers, and stockings. I’ll trim everything with handmade lace (of course) and embroidery.

Then there’s the wings. Every fairy needs a pair, and what better wings for a fairy who comes down from the moon than those of a luna moth? I mean, just look at these beautiful bugs!


This is actually one of my own photos: I was lucky enough to spot a luna moth a few years back and wasted no opportunity in photographing it. They’re fairly rare to spot since they only live as adults for a short while. The fairy’s wings are modeled directly after the luna moth, both in shape and color. I’m going to make the frame out of wire and fill it in with crocheted mesh, in the style of Irish lace. In the interest of fantasy, I’d also like to add some floral motifs, as both the wing-spots and the top edge of the upper wings. Of course, I’ll need a harness of some sort to attach them to, and the chemise will need to be able to accommodate them. I expect the wings will be the most complicated part of the costume, and might require a few prototypes, but they also have the potential to be the most eye-catching component as well.


To be honest, I’m pretty nervous to enter this competition. I saw the entries for the previous years, and everything is amazing, even down to the absolute beginner level. I’m not entering to win, but I’d like to make something to be proud of. That being said, all we can do is our own personal best, right? I’m excited to start this project, and I’m excited to share it with you all! So stay tuned to hear more about it, and until next time, stay crafty!


Thursday, June 27, 2019

This is Halloween!

...Or this will be Halloween, anyway. It's still a ways off. But in my annual tradition, I've begun thinking about the holiday far too early.

I had a lot of ideas for this year's costume. If I wanted to stay low-key and wearable all day, I could try for something like Carole King. I've been told on multiple occasions that I look quite like her, and so all it would take is a bit of 70's fashion to complete the look. If I wanted to go bigger, there were plenty of pieces of media that I enjoyed this year, and might want to pay tribute to. I could play to the classic fantasy and be an elf or fairy. I could be Cecil from Welcome to Night Vale. I could even dip my toe into some of the anime series I've enjoyed lately, like My Hero Academia, or Mob Psycho 100. There are so many options!

...and then I learned that the creators of The Adventure Zone would be going on tour in my area in the fall. They'd be doing a show near me mere weeks from Halloween. Of course I had to get a ticket. I've never been to one of their live shows before, but the recordings make them sound like great fun! And the recordings also reveal that many of the fans come in costume.

Ah. Well. Decision made, then. I'm not going to go in a year-old costume when I could make a new one of a different character. The only question was: who?

There are many excellent choices of character for cosplay in TAZ, especially now as they're wrapping up their second season. I did Aubrey Little of their second season last year, so this time I felt like it would be fun to get back to season one with some classic Balance characters. I conferred with other friends who were planning to go to the event in costume and settled on Taako for my cosplay/Halloween costume.

Taako Tacco. The elven wizard member of Tres Horny Boys. This is going to be fun.

I love Taako. He's such a ridiculous character in many ways, and yet he has a lot of depth to him that comes to the surface in tense moments. Between that and the off-the-walls outfits he's sometimes described as wearing, I know this will be a fun ride!

Okay, back to business: what do we need for the costume? True to TAZ tradition, not much information is given about the characters' physical appearances. Taako is an elf, so we can assume he has pointed ears. We also know he has a wizard hat and the umbrastaff (an umbrella that doubles as a concealed wand). That's about it. In one arc he wears a skirt, and in another, we know he wears a robe and jacket combo, but other than that there's not much to go on. Therefore, we have pretty much absolute freedom on how to design this costume! I took a dive into the ample fan art for inspiration and set to work sketching out my concept.


And there he is! I could've gone more flamboyant, but I wanted something that could reasonably be thought of as practical adventurer's gear. Taako, Magnus, and Merle get into a lot of hairy situations, after all!

Now for a summary of all the items needed:

  • Black boots with salmon laces
  • Blue jeans/pants
  • Light blue button-down shirt
  • Blue capelet with red lining
  • Bureau of Balance arm bracer
  • Red umbrella (umbrastaff)
  • Salmon corset-belt with embroidered details
  • Black wizard hat with embellishments
  • Long blonde wig
  • Prosthetic elf ears
Whew, that's a long list! Fortunately, not everything has to be made by hand. I already have black boots and blue jeans, and I can acquire a red umbrella and a button-down shirt fairly easily (though I might try to make the latter just for fun). The wig will also have to be purchased. 

That leaves the capelet, hat, bracer, belt, and ears to make. All I can say to that is I'd better get started!


P.S. Sorry for putting this post out later than usual. My parents just got two puppies (miniature poodles), and I've been helping to take care of them. They're a lot of work! But they're absolutely adorable as well, so you can't really stay mad at them. 


Tuesday, September 18, 2018

Tutorial: Pine Guard Patch

So... remember when I said there would definitely not be any more patches for a while?

I lied.

After all, what's a TAZ Amnesty cosplay without the all-important Pine Guard patch! It lets everyone know that Aubrey, Duck, and Ned mean business! (And, you know, keeps them from going crazy while they're in Sylvain). I can't complete an Aubrey cosplay without one. And if any of you want to be part of this abomination-fighting society, you can make one too.

Supplies:

  • Black felt
  • Small embroidery hoop (not technically necessary, but it'll make your life so much easier, trust me)
  • Embroidery needle
  • Embroidery thread in green, yellow, yellow-orange, orange, red, and dark red
  • Small piece of chalk
  • Scissors
Instructions:

First, put the felt in the embroidery hoop. Make sure that the entire inside of the hoop is covered in felt: this will keep the fabric taut and let you maintain an even tension with the thread. You can still do this without an embroidery hoop, but it'll be a lot harder to do.


Next, take your chalk and draw a sketch of the patch. For the Pine Guard, this is a pine tree in front of a retro-style gradient. I went with a very geometric, simplified design, but if you have the skills and/or the patience, go ahead and make it more detailed. At this stage, you'll want to make sure that your circles are circular and your lines are straight, or else they'll be crooked in the final product.


All pretty obvious so far, right? Well, if you've never embroidered before, this next one is a step you might've skipped over. Next, you'll want to go over all of your chalk lines with a simple back stitch, in colors that match (or are similar to) the ones you'll use for the fills. It doesn't have to be super pretty, as long as it makes a neat outline. These are the lines you're really going to use to guide your embroidery. 


Then start filling! It's best to use 2-3 strands of the embroidery floss, instead of the whole six-stranded piece: the fill will come out more even. Use the satin stitch to fill in the areas bordered by your backstitched lines, taking care to ensure that each stitch is parallel and runs the full length of the area. I started with the tree first, since it made the most sense to me to work from the inside out.


You don't need to knot each thread as you add it: just leave an inch or two of tail and hold it in place until you've made a few stitches. When you're done with the thread, weave each end into the back of the piece and snip off the excess. And try to orient the direction of the stitches so that no individual stitch is longer than about half an inch. They tend not to lie flat to the fabric if they're too long, ruining all your nice detail work. For this patch, this meant that the tree threads ran horizontally, while the background threads ran vertically. 


When you're finished, you should have a pretty little pine-tree patch!


Remove the embroidery hoop and cut the felt so that there's a small border around the embroidery. This is why we used felt: you can cut as close as you like, and it won't fray. Be careful not to snip the embroidery thread though! Weave in any remaining threads, and your patch is ready to wear! Here's the back of the finished product:


And the (much nicer) front!


And with that, you've now been inducted into the Pine Guard. Who knew it was that easy? Now we just have to find some abominations to fight!


Monday, August 20, 2018

Character Creation

Woo, back from vacation! I spent a week in Colorado, it was lovely. But I'm not here to talk about that, I'm here to talk about creating fictional characters. It's not exactly a "crafty" topic, but let's face it, this blog is more about me babbling on about my interests than a dedicated craft guide. And character design makes use of many of the same creative skills that you use to get crafty!

First off, it's important to consider what you are designing a character for. Are you writing an original story? Planning on a fanfiction with OC's? Looking to join an RPG? I usually fall into the latter group, though I dabble in the former from time to time. Next, consider the implications that this has on your character. If you're writing fanfiction or joining an RPG, you probably don't have complete control over the setting. Therefore, your character has to work within the established setting. For example, an elf mage would fit right in to a high fantasy Dungeons and Dragons setting, but would feel out of place in a Steven Universe fic. A sentient rock being turned warrior, on the other hand, could fit into either story! If you're writing original fiction then you have control over the setting, but you still should consider whether or not your character fits. Part of building up a believable world is making the characters seems like they belong there (unless they're not supposed to belong!).

Now that you've figured out what is/isn't an appropriate character for the setting, start building up details about them. Start with the big picture first: their name, gender/pronouns, species (if there's more than one option in your story), basic personality traits, etc. If you're playing an RPG, go ahead and figure out all the relevant stats too. You don't need to go into a huge amount of detail about their appearance/clothing, unless it's imminently relevant to the story you want to tell. Of course, if you already have a lot of ideas in that area, write them down. I like to draw a sketch of the character, in a dynamic pose that informs their personality, as a reference for how they look on a day-to-day basis.

This is the point where a lot of writing advice will tell you to work out as many details of your character as you possibly can. Write an extensive backstory, list their favorite foods, colors, animals, historical figures, their every goal for the future and all their values. Honestly, I don't think you need to do this, at least not in one go. Whenever I would try to list all the traits of a character before writing/playing them, I forgot about them within five minutes of starting to use the character. Either my predetermined traits didn't actually mesh together as well as I thought they did, or the course of the story would be more logical or funny or interesting if my character acted differently. By the end of a day, half the list could be scribbled out and replaced with new information, which kind of defeats the purpose of listing everything at the start.

This isn't to say that you shouldn't plan. And it's not to say that you shouldn't know intimate details about your character. But I find it better to plan the big picture stuff, and let the details form as I go. Major personality traits and backstory elements will determine a majority of the character's actions, after all, so you can get away with planning those and little else. In a oneshot RPG I participated in recently, I was very minimalist with my preparations. A name (Cici) and a few character traits (short temper, loyal, self conscious about her height) were really all I decided up front. As the game progressed, Cici grew into a fierce, almost gruff figure who didn't want to admit that she cared about her teammates, and who was more than willing to rip apart anyone who stood in their way. She was also surprisingly caring and gentle when her friends got hurt, having an enhanced skill in medicine discovered partway through the game that informed another aspect of her character. Had I planned every detail out from the beginning, it would have been very difficult to fit the unexpected medical skill in without toppling the whole pile! Cici ended up being a fun, volatile character to play, in part because my minimalistic planning allowed her to be.

If you decide to take my route of figuring out character details as you go, I have one more suggestion. Keep a list of what you learn about your character as you play/write. If at some point they say their favorite ice cream flavor is cherry, make a note of it, and keep all of your notes in one place. This will help prevent your character from being inconsistent and may stop plotholes before they form. And check to make sure you're not contradicting yourself before you commit to a particular trait!

Using this system, I've found a nice balance between staying consistent and being free to explore a character's potential. It's an excellent way to play an RPG, and it works for writing fiction just as well. Do you like to plan every single detail of a character before you start? Or would you like to try my way and fly by the seat of your pants a little bit? Let me know!


Thursday, May 24, 2018

Papercutting Tutorial

I love papercutting. The materials are so simple: a piece of paper and a blade are really all you need. But the results are delicate, beautiful, and complex.

I learned papercutting by trial and error, and mostly on my own. There aren't many resources online or in books for learning advanced papercutting techniques. Most are geared towards kids cutting paper snowflakes, and while technically that's also papercutting, I was looking for more refined instructions for an audience that didn't need permission to use the scissors! I never found those instructions, so if you're looking for some yourself, allow me to help with a tutorial!

First, gather your supplies. Paper and a blade (I use a craft knife) are a must. Some people also use small, sharp scissors: it's up to you to decide what you're more comfortable with. Any paper will work for papercutting, though higher quality stuff will last longer. I personally prefer to use origami paper, as it can readily be found in a wide range of colors. Right now, though, I'm just using a piece of white sketchbook paper. You can use anything from tissue paper to cardstock. Be aware, though: thinner papers will rip more easily, and thicker papers will be harder to cut through.

Apart from the absolute essentials, you'll also benefit from a cutting mat and a pencil. The cutting mat protects your work surface from the blade if you're using a craft knife: cardboard works in a pinch but may dull your blade faster. And a pencil will allow you to sketch the design on the back of the piece before you start.


All right, now let's get started! Planning is essential for papercutting: there's no undoing a cut once you've made it, so you need to be sure of where it's going! Flip your paper to the wrong side (if there is one) and begin lightly sketching the shape of your design. I'll be drawing a dragon. Why? Because I can!


Some poses are better than others for papercutting. You can't shade anything or use different colors, so it's hard to differentiate between objects put in front of one another. The more distinctive you can make the silhouette, the better. So the sleeping dragon on the left might be cute, but it would be much harder to design a papercut of it than the one on the right.


Once you're chosen the design, lightly sketch it out full size on the paper, paying the most attention to the outline of the shape. Be aware: since you're sketching on the backside of the paper, the actual result will be a mirror image. If the direction of asymmetry is important (like for words), carefully sketch them in reverse. I don't particularly care about the direction for this one, so I'm not worrying about it. Mark out any features inside the shape that need to be visible as well. You'll need to find a way to differentiate these areas. For me, the major areas of concern are the wings: I want to make a distinction between the wing bones and the membrane.


Fortunately, we aren't limited to only silhouettes! I could cut out the membrane entirely, leaving only the edge line intact. But that would make the wings very fragile, and it wouldn't be visually interesting. So instead, I'm adding a bunch of spiderweb-lines to make a lacy pattern. It will be open enough to be distinct from the wing bones, and stronger than pure open space. I'm also adding some scale patterns to the body - because it looks cool - and cutting out the eyes and the horns. When you're adding details, be careful that you don't split the piece in half. All of the positive space (the paper) has to be connected, or else it'll fall apart! Ideally, every major area should be connected by multiple points to those around it. This lends strength to your finished product, making it less likely to tear when handled.


Now (finally) we begin cutting! You can cut out the rough outline of the piece in order to make it easier to handle, but don't cut close to the outline yet! In fact, start with the inner detailing. The laciest, most delicate parts should be cut out first, while there's still lots of surrounding paper. That way, you're less likely to rip it. So following these rules, I started with the wing membranes.


Once that's done, you can cut the outline. Be careful here: you'll likely have spots without much room for error. For me, those spots are around the outer edge of the wing membrane. Cut away small sections at a time so that excess paper doesn't get in your way.


There's no big wisdom to success here: a sharp knife and a steady hand are needed. If you cut or rip a section, you can try to put a dab of glue on the backside to repair it, but this isn't always successful. Alternatively, you can improvise and cut a new pattern that fits your mistake! No matter what you do, you'll end up with something simple but beautiful! Here's mine right after cutting:


Here you can see the wisdom of sketching lightly on the wrong side. The paper around the wings is so skinny that it would be extremely difficult to erase marks without ripping the paper. Better, then, to make light marks which won't show up on the right side! Turn the piece over and admire your work.


The principles of papercutting aren't complicated. Cut shapes from a piece of paper: that's the gist of it. But the simplicity belies a beautiful art form that requires little more than patience and a steady hand to create. Hopefully this tutorial has given you inspiration to try some papercutting of your own. Brandish your craft knives (carefully!) and get to it! Happy papercutting!

Friday, March 9, 2018

TAZ Cosplay: Embroidery is Hard!

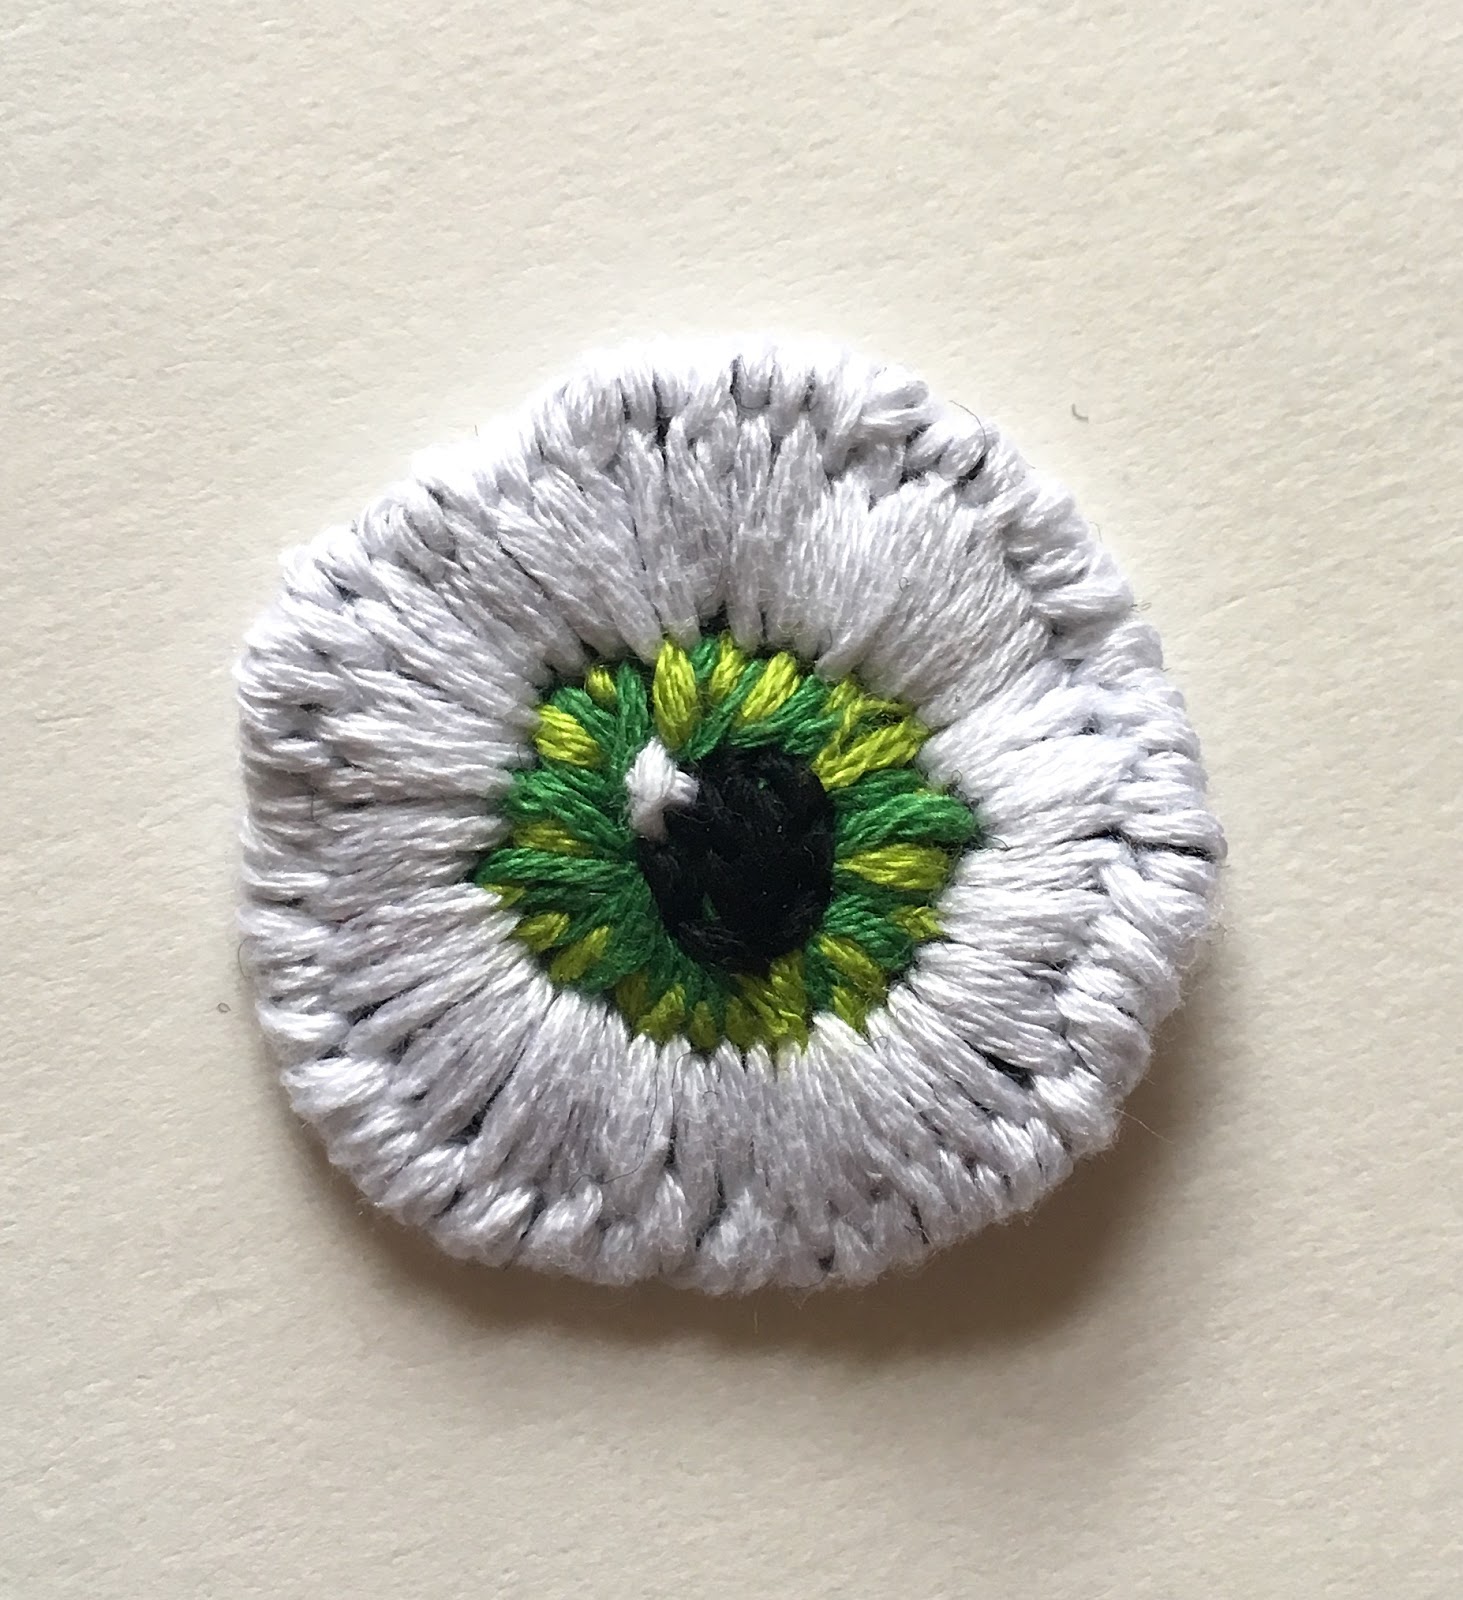
Well it's true! I haven't embroidered anything in years, so I was fully expecting some really bad first tries. They actually turned out better than I expected, though! Here they are below:


Have some closeups, too:


Although I was pleasantly surprised by the quality, I wasn't exactly happy with how they turned out. I'd like the stitches to be more even and less haphazardly placed, so that it looks more professional and less DIY. I tried to just sketch a rough circle on the felt and go freehand for the pattern, but that didn't work terribly well: for the next go-round I'll be sure to draw out a more detailed plan on the felt before I start. And I might need some tips for how to get that satin stitch looking clean. Stay tuned: if I find any good tips/tutorials, I'll be sure to share them!

Tuesday, February 27, 2018

TAZ Cosplay: Patchy Reception

Who doesn't love a good embroidered patch? The designs are nearly endless, and you can put them on so many things to add a personal flair. I figured that Aubrey might like to add a little (or a lot) of her own personality to her jacket, so I've decided to deck out the lapel in patches.

Because I'm both a fan of DIY and of budgets, I thought I'd make my own. I got a rainbow pack of embroidery floss for ~$6, and a few sheets of black craft felt for another ~$1.50. That plus an embroidery hoop (mine is super cute and small!) and a few needles is really all you need. Well, that and a design! I want to fill up the entire lapel with embroidery, so I started brainstorming patches based on what I knew of Aubrey's style. (And I added a few of my own favorite things and references to the first arc of TAZ for good measure!) Here's my brainstorming page:


I've been adding steadily to it as I come up with more ideas, so perhaps some more patches will make it on the list! The Pine Guard patch is special, since it's actually explicitly referenced in the podcast. (I was so happy when it was introduced since it fit so well with my plan!). I'll be hiding that one under the lapel so that I can do some dramatic reveals with it.

Well, looks like I've got a lot of work to do! This will probably be the most time consuming aspect of the costume to make, so I'd best get started. Time to brush up on my embroidery skills!

Thursday, February 15, 2018

TAZ Cosplay: Neck Lace

What better way to make a necklace than by putting some actual lace around your neck? I promised you that lace would be making an appearance, and I aim to deliver! I wanted to accessorize this cosplay with a black choker (even though I hate wearing chokers myself), and it was the perfect opportunity to try out some beaded shuttle tatting. For the uninitiated, shuttle tatting is a form of lacemaking where a shuttle filled with thread is used to make a series of knotted loops and chains that are connected in delicate, but surprisingly robust pattern. I get most of my tatting patterns from random internet searches and Pinterest boards, and occasionally I'll modify one or make my own. For this project, I went searching, and I came up with this lovely image:


Unfortunately, there was no pattern attached to the photo (though the site was in a different language, so it's possible I just missed it). I really liked the design, though, and so I thought I'd try to recreate it for myself. My first sketch and attempt went pretty well, all things considered:


Now to grab my black thread and those red seed beads and get tatting!

Monday, January 29, 2018

TAZ Cosplay: Raiding My Closet

In an effort not to break the bank, I rummaged through my closet before designing Aubrey's costume, and I found lots of good things to use! When possible, look for premade clothes that you can use or modify in your cosplay: it saves a lot of time! Thrift stores are a great place to find garments that you won't mind cutting up for parts, as are friends and family members who want to do some spring cleaning. I looked through my closet and found this lovely outfit:


So far, so good! The black jeans came pre-ripped (not a style that I'm usually into, but they fit too well to pass up), and the jacket is from my collection of black, jazz-concert attire. I plan to sew some patches onto it, but those can be removed pretty easily when I want to wear it out again. The shirt's just a regular old tee that I wanted for the splash of color. Finally, I dug up my favorite snow boots:


All I need are replacement laces in a brighter color! This would be a pretty fun outfit by itself, but we'll promote it to full-blown cosplay soon enough with some custom accessories. Stay tuned!

TAZ Cosplay: Design

All right, here I am again! I took some time to doodle and sketch outfits, and I've settled on a design that I like. If there are no photo references for your character, sketching the design yourself is a must. Even if you can get photos, it's still a good exercise to draw it yourself: you'll be able to find all those little details you want to include in the final project. You don't have to be a fantastic artist, either: as long as you can "read" your own sketch, it's fine. Usually I just sketch on a piece of notebook paper, but I drew it up digitally for here:


Pretty cool, right? The design might lean a little into edgy middle school OC territory, what with all the red and black, but I'm okay with that. Aubrey seems like just enough of a dork to think that's cool. Let's go over all of the elements of the costume:
  • Black jacket
  • Red t-shirt
  • Black ripped jeans
  • Boots with red laces
  • Black half-gloves 
  • Lacey choker necklace
  • Belt with chain design
  • Embroidered flame and wing decals (on jacket)
  • Embroidered assorted patches (on lapel)
  • Fake facial piercings
That's a pretty substantial list of things to find/make! I'm going for low budget here, so I won't be buying a ton of new supplies: instead I'll try and find useful stuff that I already own, and make the rest. My goal is to buy less than $20 of new materials for this project: let's see if it works!

Oh, and the rabbit over there is Dr. Harris Bonkers. He's Aubrey's pet, and I couldn't resist drawing him in too! Maybe if there's a little left over in the budget, I'll get a stuffed animal to play the part!