So, lace takes a long time to make. You may or may not be aware of this. Certainly if you've gone through the effort of making lace, you know, but to those on the outside, it may not be so obvious. It might take a bit longer because it's more complicated, you think, but surely I must be exaggerating.
Oh, my sweet summer crafter. How wrong you are.
Let's go through the process of making a shawl. Like, for example, the
Frosty Apples Shawlette that I shared a progress report on a few weeks ago. It's a full-sized shawl, but the crescent shape makes for less surface area than an equivalent triangle shawl or circle shawl. It'll be
fine.
You begin. Seven stitches to cast on. Child's play. The rows at first go by like lightning: plain stockinette with only a handful of stitches per row. Sure, you're increasing, but the 20, 30, 50 row marks fly by. You feel like you're making great time. You do a few calculations to see how many rows you need before you can get to the real lace bit.... 120 rows? Well, that's a lot, but it is thin yarn. It's probably fine, you're halfway there already!
Except you're not. You're never halfway there when you think you are.
By the time you actually get to the start of the lace pattern, there are almost 250 stitches per row. 250 tiny stitches to make before you get to turn that work. And you haven't even gotten to the hard part yet. But it's fine. It's just lace, you can handle a few simple yarn overs and decreases. The backside is even plain purling, save for the edges! You have to slow down a bit to read the chart as you go, but it's not so bad. There are only 75 rows left for the entire project, and you already did 120. You put a life line in just in case.
Maybe you're a fast knitter. Maybe yarn overs and decreases come as quickly to you as knits and purls. That's all well and good, but you start to get a strange sinking feeling that this pattern is determined to wreck your workflow. Because the next thing you see on your chart are the beads.
You're forced to rummage around in your craft bag for a crochet hook that's small enough to take a bead while still having a head that's visible to the human eye. You can't fathom what peculiar brand of insanity might compel a crocheter to actually
use one of these things for a full project, but you're grateful at least that they're made, because no way were you going to count out and pre-string every single bead you needed for this shawl. Beaded stitches must be handled with care. Put them on the hook, slide the bead on, and replace the stitch on your needle without twisting it or dropping it. You drop it. Dammit.
Well, that's the other thing you suppose these tiny crochet hooks are good for: fixing your mistakes.
You continue on like this for a while, chugging along the non-beaded rows and paying extra care to the beaded ones. After a few tries, you think you've gotten the hang of the beads. They're not so bad, really, when you get to know them. The rows are still getting longer all the while, but you're pretty sure that you can handle it. At this point, what's another stitch added to 300? You turn the page to the final chart, feeling a sense of accomplishment at all you've done so far.
Then you see them. The nupps.
If you're like me, you know what nupps are, but you've never made one. Google is your friend, and in
theory they're not that hard. In reality, they are evil incarnate. You try first the traditional way, making far more yarn overs at once than is really advisable, and purling them all together on the back row. This quickly breaks your very spirit, your will to fight. There are dozens of them, maybe hundreds in this pattern. You don't think your poor heart can take it. You consider just forgoing the nupps entirely in place of beads (they seem so tame now), but since you've already used beads, you know they won't stand out. This shawl is supposed to be special, and you really like how all the sample photos look. But can you bring yourself to endure that sort of extended, self-inflicted torture for 30 more rows?
You search desperately for alternatives, and come up with one saving grace. A method for making nupps with a crochet hook that confines the little monstrosities to a single row. No more purling 9 together for you. It's far from a pleasant time getting out the crochet hook again, but you figure it's the lesser of two evils. Your progress slows to a crawl. The bind off taunts you, so few rows away and yet so far. Centimeter by centimeter, you make your way forward until you purl that final row. Better put in another lifeline at this point, because you have to do a crochet bind off, and you
know it's not going to be right the first time. Whyever would you get it right the first time? That would be too easy.
But after about half a dozen false starts, you get the hang of it, and thank goodness you only have to bind off once. Break the thread and you get your first and final real gift of this pattern: a mere two blissful ends to weave in. Colorwork can go suck a lemon, you've got this.
And finally, you're done! You spread out your shawl to admire your work:
Wait. That's not what the pictures for the pattern looked like. This is all scrunchy, you can barely see what the design is supposed to be. Did you do something wrong? You thought you followed the directions perfectly. (Well, except for that time you realized you messed up eight rows ago and decided to just leave it in instead of spending two hours fixing the mistake. Or that other time you did the same thing. Or...)
No my friend, you haven't made some mystery error. This is the final blow the project will deal to your will to live before you vanquish it. For you see, lace looks terrible until it's blocked.
Blocking isn't so bad, you think. You just get the thing wet and pin the important areas to a blocking pad. And you'd be right about that. But you see, with a lace design like this one, there are a
lot of important bits that have to be individually pinned. Each pattern repeat becomes a set of points which have to be outlined. You're not sure quite how many repeats there are, but the memory of agonizingly long rows towards the end give you a pretty good idea. And just to put icing on the cake, your set of blocking pads isn't
quite big enough to lay out the entire shawl. Of course.
Still, you manage to find a configuration that covers most of the important stuff. You lay it out, sticking hundreds of pins in the thing in an effort to force it into the shape you want. Your hands smell like wet wool, and it's probably about midnight by now. All that's left to do is go to sleep and hope for the best.
At this point, you're probably seriously questioning the life choices of everyone who has made more than one lace shawl. The first time was nearly enough to break you. Your eyes are chronically tired from all the finicky little stitches you have to look at, and your hands have cramped up more times than you can count. You'd have finished half a dozen worsted weight shawls in the same time. This couldn't possibly be worth it.
The next morning, you wake up and wander over to your blocking setup, which is probably blocking access to a door to somewhere important. Your family member/roommate/pet is standing indignantly in front of it, confused and/or annoyed at the interruption to their daily routine. You take out all the pins, grumbling as you ask yourself whether it was really necessary to use
this many. Probably not, you think. This whole project probably wasn't necessary. Still, you're here now, and you finally get to pick up the finished, fully blocked shawl to get your first good look at it.
...Oh.
Wow.
The photos on your computer really didn't do it justice, did they? Up close, you can see every stitch, every intricate detail. Light filters through the fabric, giving it almost an etherial quality. You try it on, and it's light as a feather, beads giving it just enough weight to drape gracefully down your back. Even if it's a little vain to say, you feel like you've really created something beautiful.
You try to take photos of it, because you want to share the accomplishment with your friends and family. Finding a place to drape it in its full glory is a challenge.
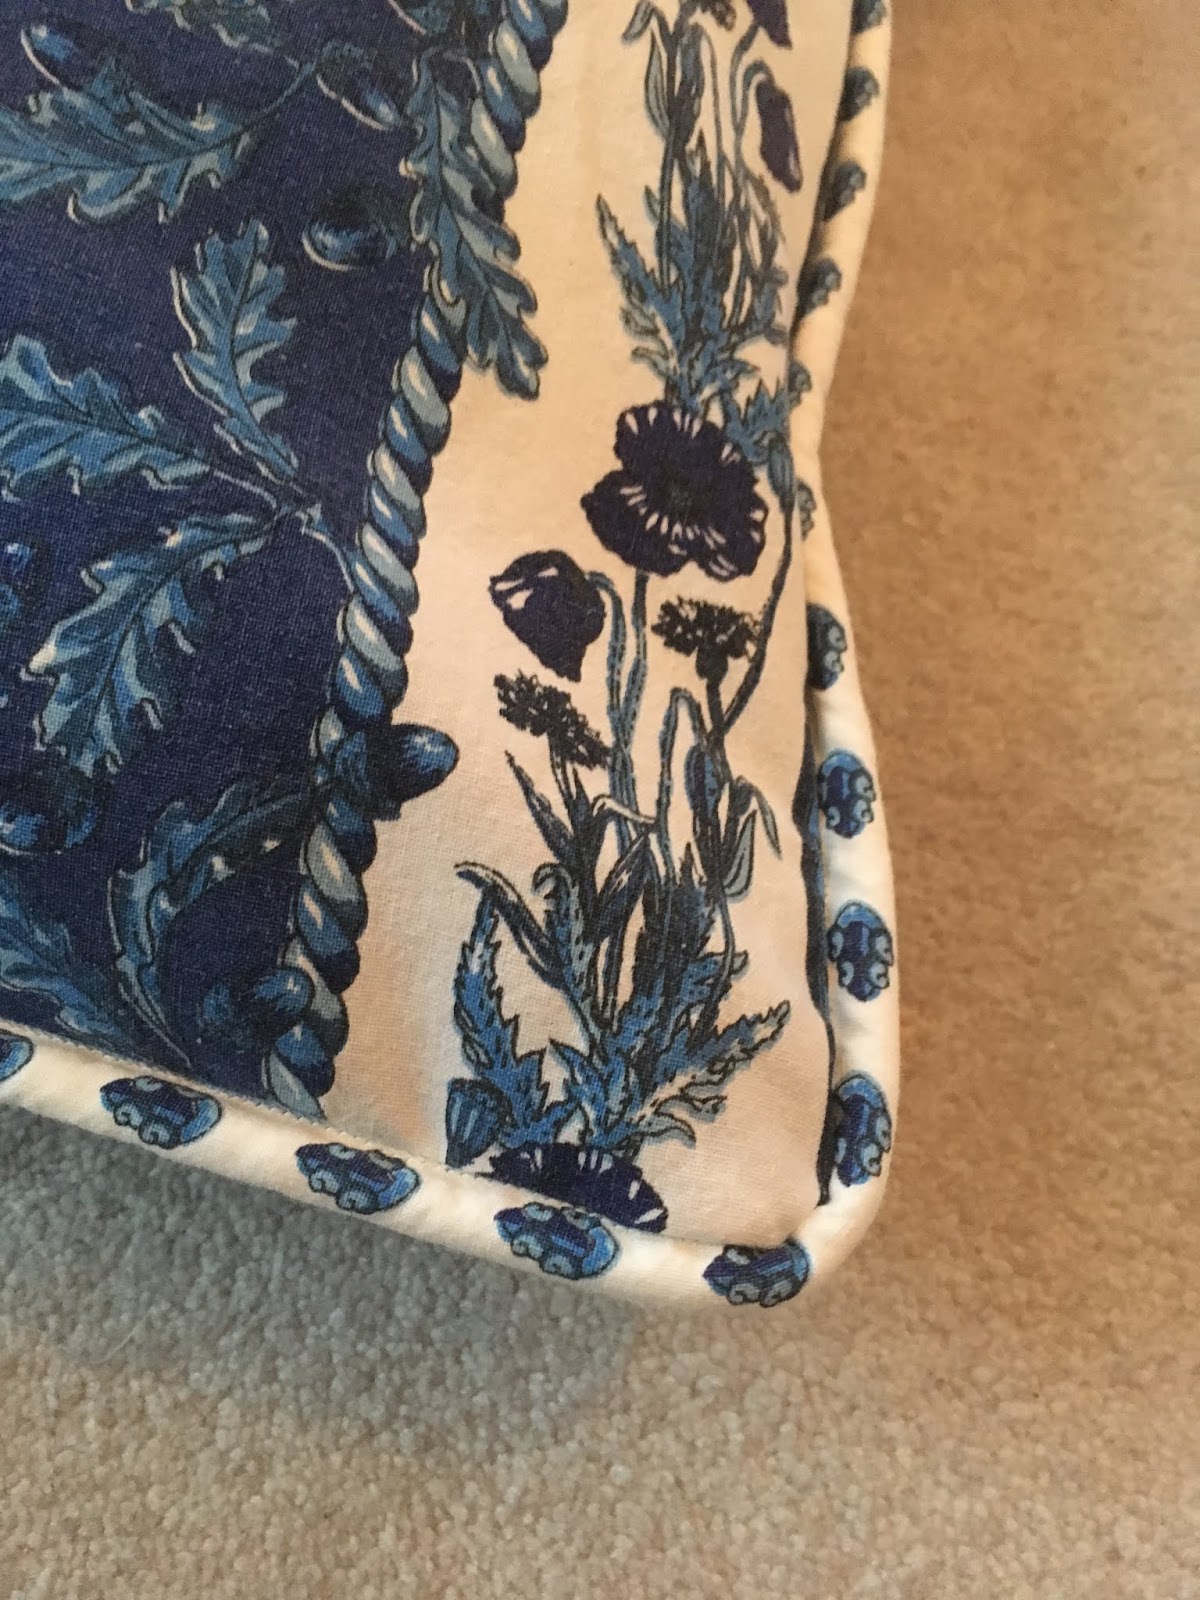
Ah, but just like the photos online, a static image just isn't enough to do it justice. You try to capture it in closeups, but to no avail.
Pretty, yes, but not as pretty as it is in person. You feel like nothing short of a professional photographer will be able to capture it in its full glory, so you settle for sending these pictures to your friends and revel in the real thing yourself. After all the time, all the frustration and mistakes, you've done it. It was so much more work than you'd imagined at the start, and you thought about giving up more than once. But maybe it was worth it in the end after all.
You start planning your next lace project.