As it just so happened, I was at my parents' house at the time for the holidays. My mother was in the middle of reviving the living room's decor, and I quickly got sucked into the project. Mom I love you, but at some point you just have to pick a fabric for the slip covers. We've been to four fabric stores already and looked at half a dozen online suppliers. There are only so many fabrics in the world.
To escape slip cover madness, I turned to the throw pillows. The pillows themselves were just fine, but their covers had seen better days. It was time for a new set, and that seemed like my kind of sewing project. I grabbed some coordinating fabric (actually a tablecloth that had a big stain on one corner) and set to work.

One of the two pillows in question. Pretty standard square. The cover is removable, so I decided to just copy its design for my own pillow.

The front of the pillow case is just a square of fabric, but the back has two rectangles that overlap in the center. The pillow itself can be inserted and removed through the slit that they form. Seems easy enough. I started measuring and cutting.

It's important to press all the wrinkles out of your fabric before you measure, so that your lines are straight and properly measured! Otherwise your corners won't be square, and the case won't fit. Seriously, this step is not optional.

Breaking your quilting ruler, however, is optional. And not recommended.

I wanted to add some piping to the edge of the pillowcase, so I wrapped cording in thin strips of my pillowcase fabric and used the zipper foot to stitch it closed.

As a final step before assembling the pillow case, I finished off the edges of the back rectangles. Since they had to be able to open, I needed to put a hem on them to prevent fraying (and to make it look nice). This is also a time to press your fabric: press the fold into the fabric before you stitch it, and it'll be much easier to keep things straight and crisp.

Next came sandwiching all the pieces together in preparation to sew the whole thing closed. Since you generally sew on the reverse side of an item, all the pieces have to be reversed. That means the piping actually faces inwards. Astute readers will notice that I screwed up and put the wrong side of the bottom fabric facing in. I had to rip the whole thing apart. But aside from that, I have a nice little trick for getting those corners sharp. With no treatment, they don't lie flat around the corner, and you'll have a rough time trying to sew it. To fix this, just clip the fabric covering of the cording at the corner! Get as close as you can to the stitching without breaking it, and you'll be able to get the piping to make a much sharper turn.

There are a couple of ways to hide the raw edges of the piping. I prefer the laziest one: overlapping the ends a bit and then angling them in so that the raw edges end up on the inside of the pillow case.

Then it's just a matter of sewing around the perimeter of the pillowcase. Use the zipper foot again to stitch close to the cording. Then clip your corners, turn it inside out, and admire your work!

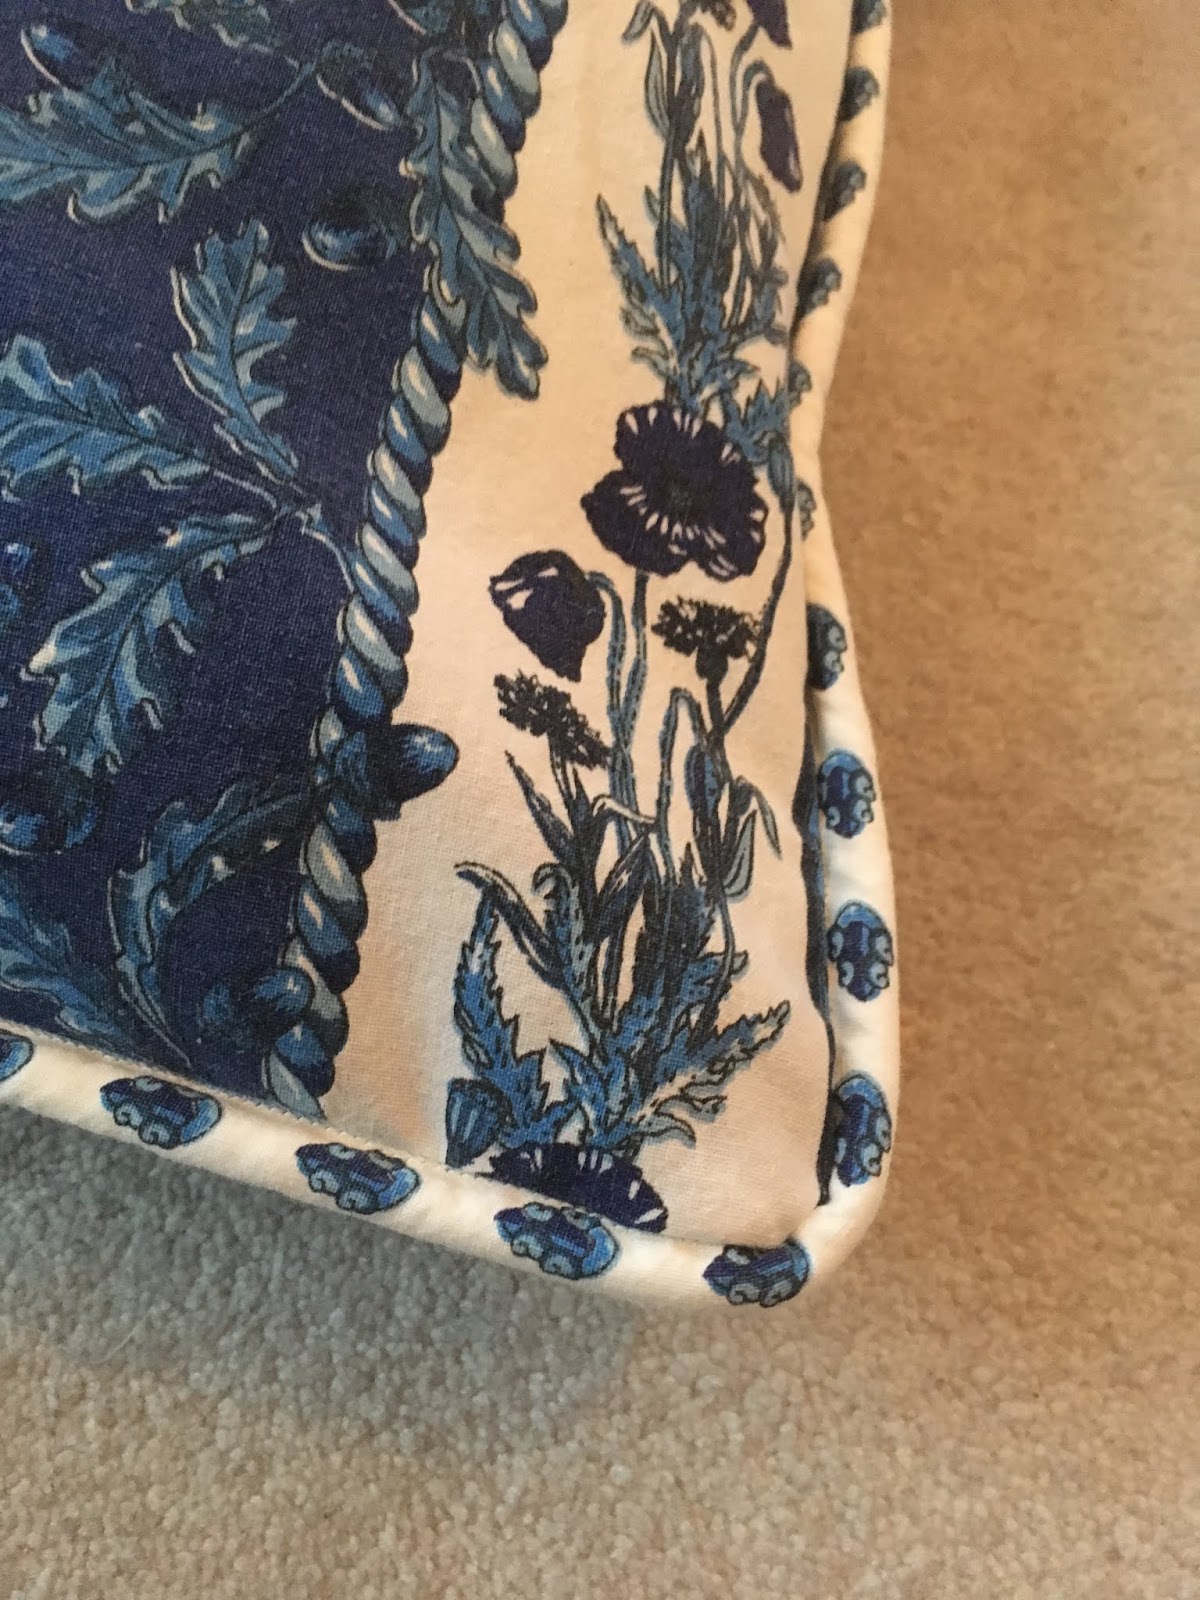

As you can see, the zipper foot really lets you get in close to the cording, resulting in a nicer finish. And the lazy end-hiding is hardly noticeable unless you're looking for it. These pillowcases were super easy to make, and I'm tempted to make different sets of them for each season. They're removable, after all! Though maybe I should focus more on decorating my own abode, rather than updating my parents'...
Regardless, I'm sure Mom will recruit me for more redecorating projects soon, and I'll be sure to share them. Until then, stay crafty!
No comments:
Post a Comment