For those who don't know, shuttle tatting is a form of lacemaking that was popular from the 19th century into the early 20th century. A shuttle wound with thread is used to make rings and chains out of consecutive knots and loops (called picots) which can be joined to one another to form a design. It's a very sturdy type of lace, since it's literally made up of hundreds on individual knots that don't unravel easily. And while it can be a little tricky to get started with, it's pretty easy to do once you have the basics down. If you're interested in learning, I recommend videos or in-person lessons above anything else: the knotting technique can be really hard to understand unless you can see it in action.
I wanted make a nice tatted edging to go on the inner edge of my hat brim, to give it a pop of color when seen from below. The first step was finding a good pattern, which for me meant looking through all my books and then surfing Pinterest.
I eventually came across the top edging pattern in this post. It looked lovely, and easy enough to make lots of. I'd love to give credit to the original pattern-maker, but the site that the post links to is in Russian, and I had no clue how to navigate it to figure out what book the pattern is from. If anyone happens to know who this pattern belongs to, please let me know so I can give credit where credit is due!
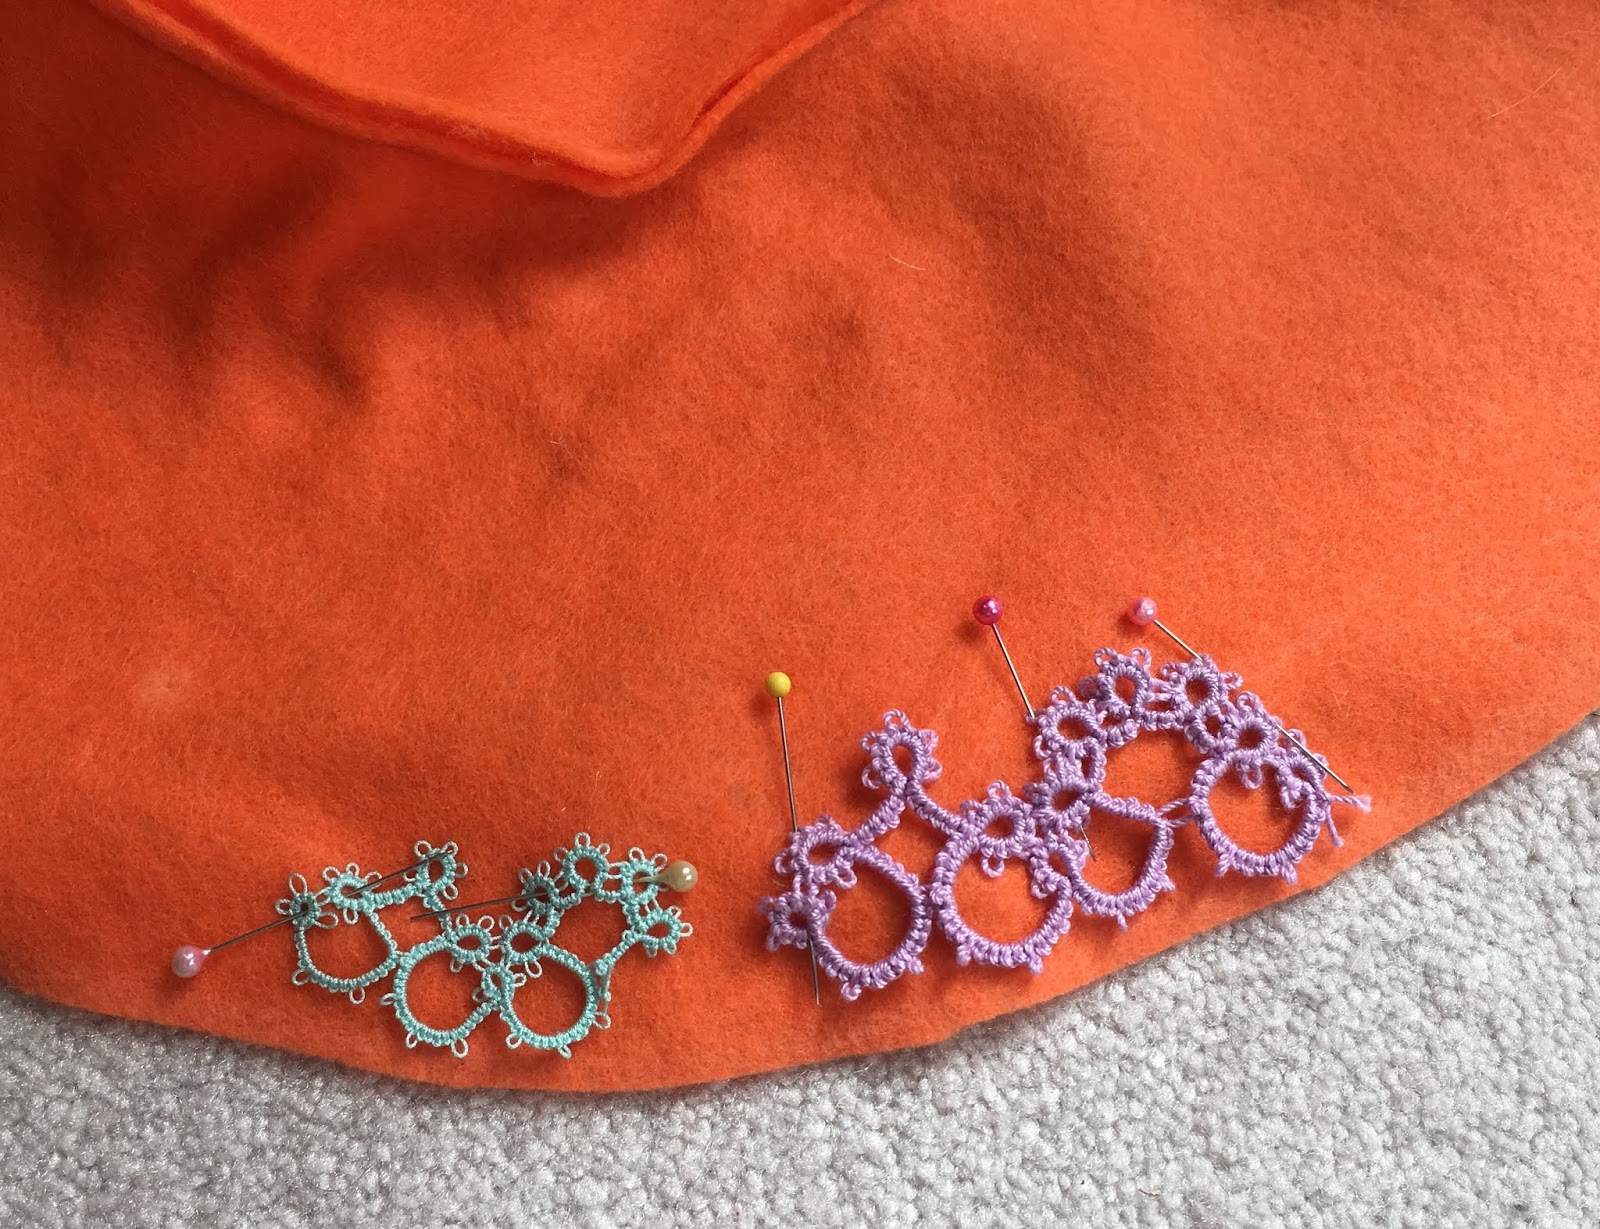
But I digress. I tried out the edging in a few different thread sizes to see what works best, and settled on the smaller one. I like the more delicate look it has when it's small. I liked the color of the thinner thread as well: it matched what I had in mind for the shirt I'd be wearing for this costume. So, I set to work making the edging.
I tatted.
And tatted.
And tatted some more.
As it turns out, when you have a big hat with a big brim, it takes a lot of yardage to go around. Almost five feet, in fact! That's a lot of lace to make, and it took me quite a while to actually get it all done. But finally, I had enough to work with.


As with any lace, tatting looks best when it's blocked, so I did all that first. No need to stiffen or starch it, because it would be laying flat against a piece of fabric. Then it was a simple matter of pinning it into place and sewing it down.


The hat's already looking better! But I think we can add even more to the brim. My next thought went to fringe, especially beaded fringe. I had seen a few pieces of fanart where Taako's outfit was modeled after the aesthetic of the goddess Istus, and many of them included such a fringe. I liked the look. I wanted it. And because all of this is within my power to control, that's exactly what I did.
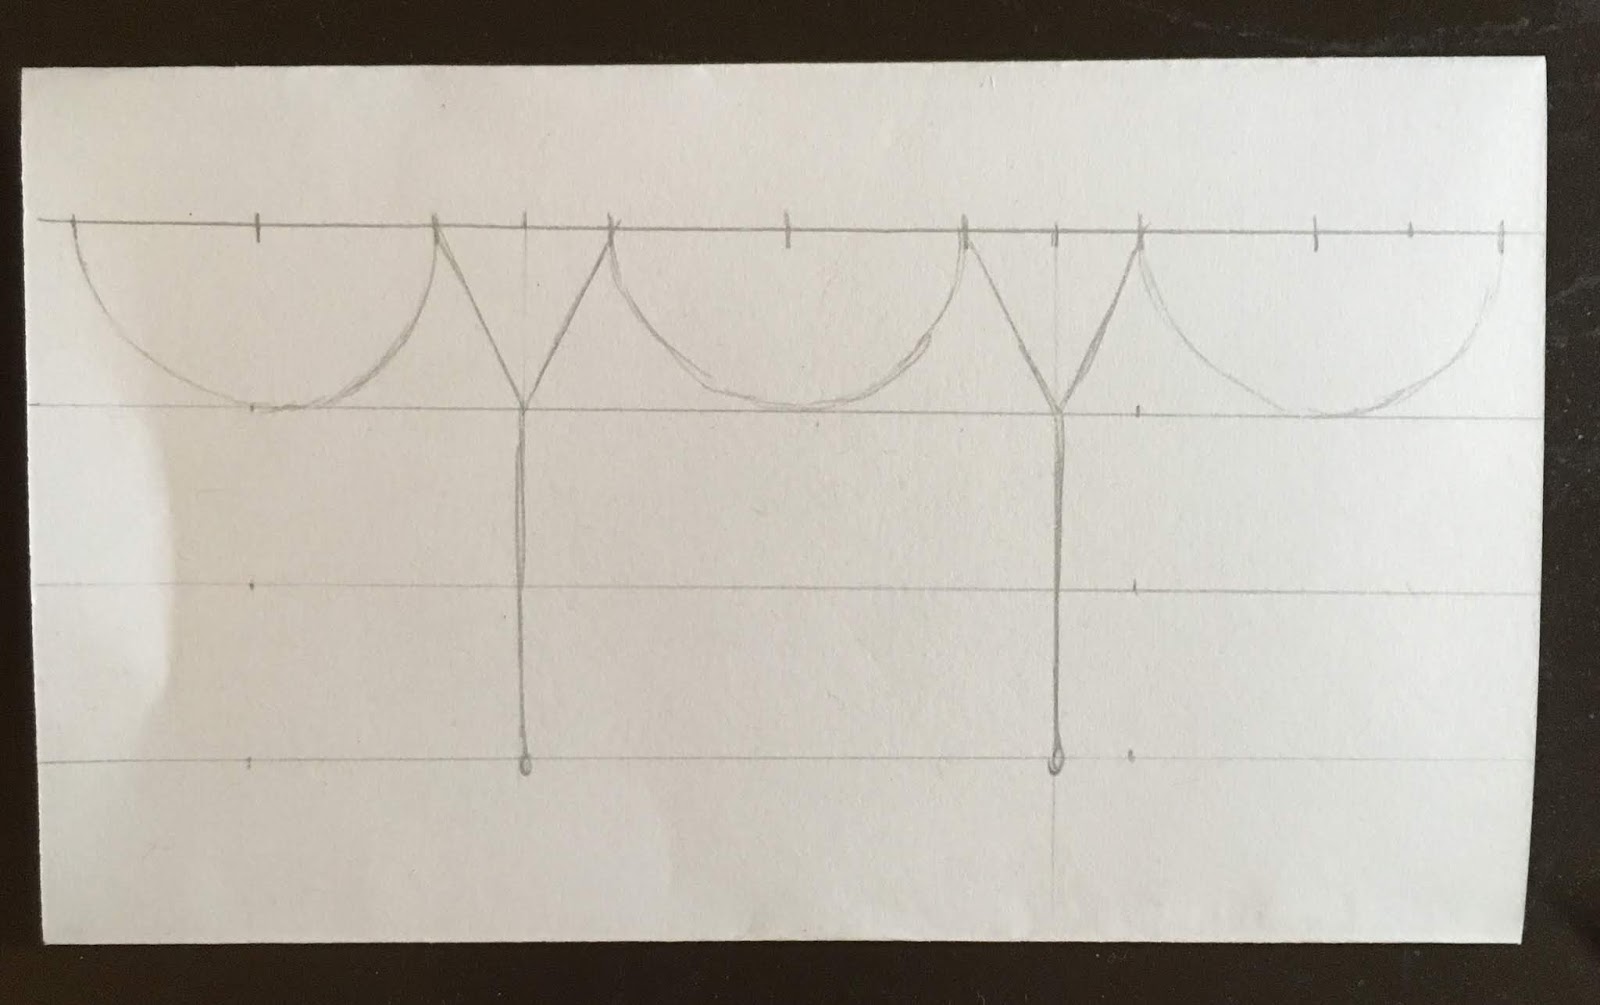

After a little trial and error, I made up a fringe design that I thought would work well. It's a bit understated compared to some of the fanart, but for the purposes of wearability, that was going to have to be the case! The beads I chose were some that I've had in my stash for a long time now: a whole mix of assorted blue seed and tube beads. I marked out the spacing of each fringe loop on the hat with chalk before I started so that I knew I'd be able to keep things even, and then I set to work!
Tip: if you're making beaded fringe/edging like this, with lots of freestanding loops, knot the thread each time you stitch through the fabric. It keeps the tension of the loops more constant, making them hang better. Also, don't pull the thread too tight! If you want the fringe to swing and sway about, there needs to be some give with the thread.
The beading process actually went very quickly once I started: just two evenings and I was all the way around. It ended up looking really cool, especially with the tatted edging peeking through from the bottom!


This is the state of the hat at the moment. I think the added detailing really elevates it from basic costume hat to elaborate cosplay accessory, but it's not quite done yet. I still need to add a snazzy hat band, after all! Stay tuned to see that process, and the rest of this cosplay endeavor. And until next time, stay crafty!
No comments:
Post a Comment