A few months ago, I rescued a piece of red sequin fabric from the scrap bin of the sewing class I took. It was actually a cast-off from one of my friend's projects, in fact, another TAZ cosplay! I knew I wanted to incorporate it into my costume somehow, since the two characters we were cosplaying as have a very special relationship. It didn't take me long to strike upon the idea of using it as a hat band! I straightened out the sides of the scrap and came up with a rectangle just long enough to wrap around the base of my hat.

Look at it! How could I pass this stuff up? It was rather stretchy, though, and didn't want to hold any sort of shape. So, I basted a piece of woven cotton fabric to the back, just to give it some structure.


Now, we have a little bit of a problem. This piece of fabric is straight, but if you've ever tried to wrap something around a cone, you'll know that you actually need a curved strip in order to make a nice straight-looking stripe. I didn't have enough fabric to make the proper curve, so I had to improvise. After fitting the strip around the base of the hat, I clipped lines down from the top end, so that I could bring it flush to the slant of the cone. It's a bit difficult to describe in words, I'll admit.

...And it's also difficult to photograph, with this sequin fabric. In this photo, I'm holding a flap of fabric that I cut so that I could overlap both sides. That way, the straight strip of fabric fits around both the larger circumference of the base of the hat, and the smaller circumference a few inches up. From there, it was just a matter of stitching everything down with an inconspicuous thread.
Next, I did a bit more finishing work. The seam on the inside of the brim, where the hat sits on the head, was looking a little bit untidy. I took the rest of the bias tape I used to bind the outer edge of the brim, and bound the inner edge in just the same way.
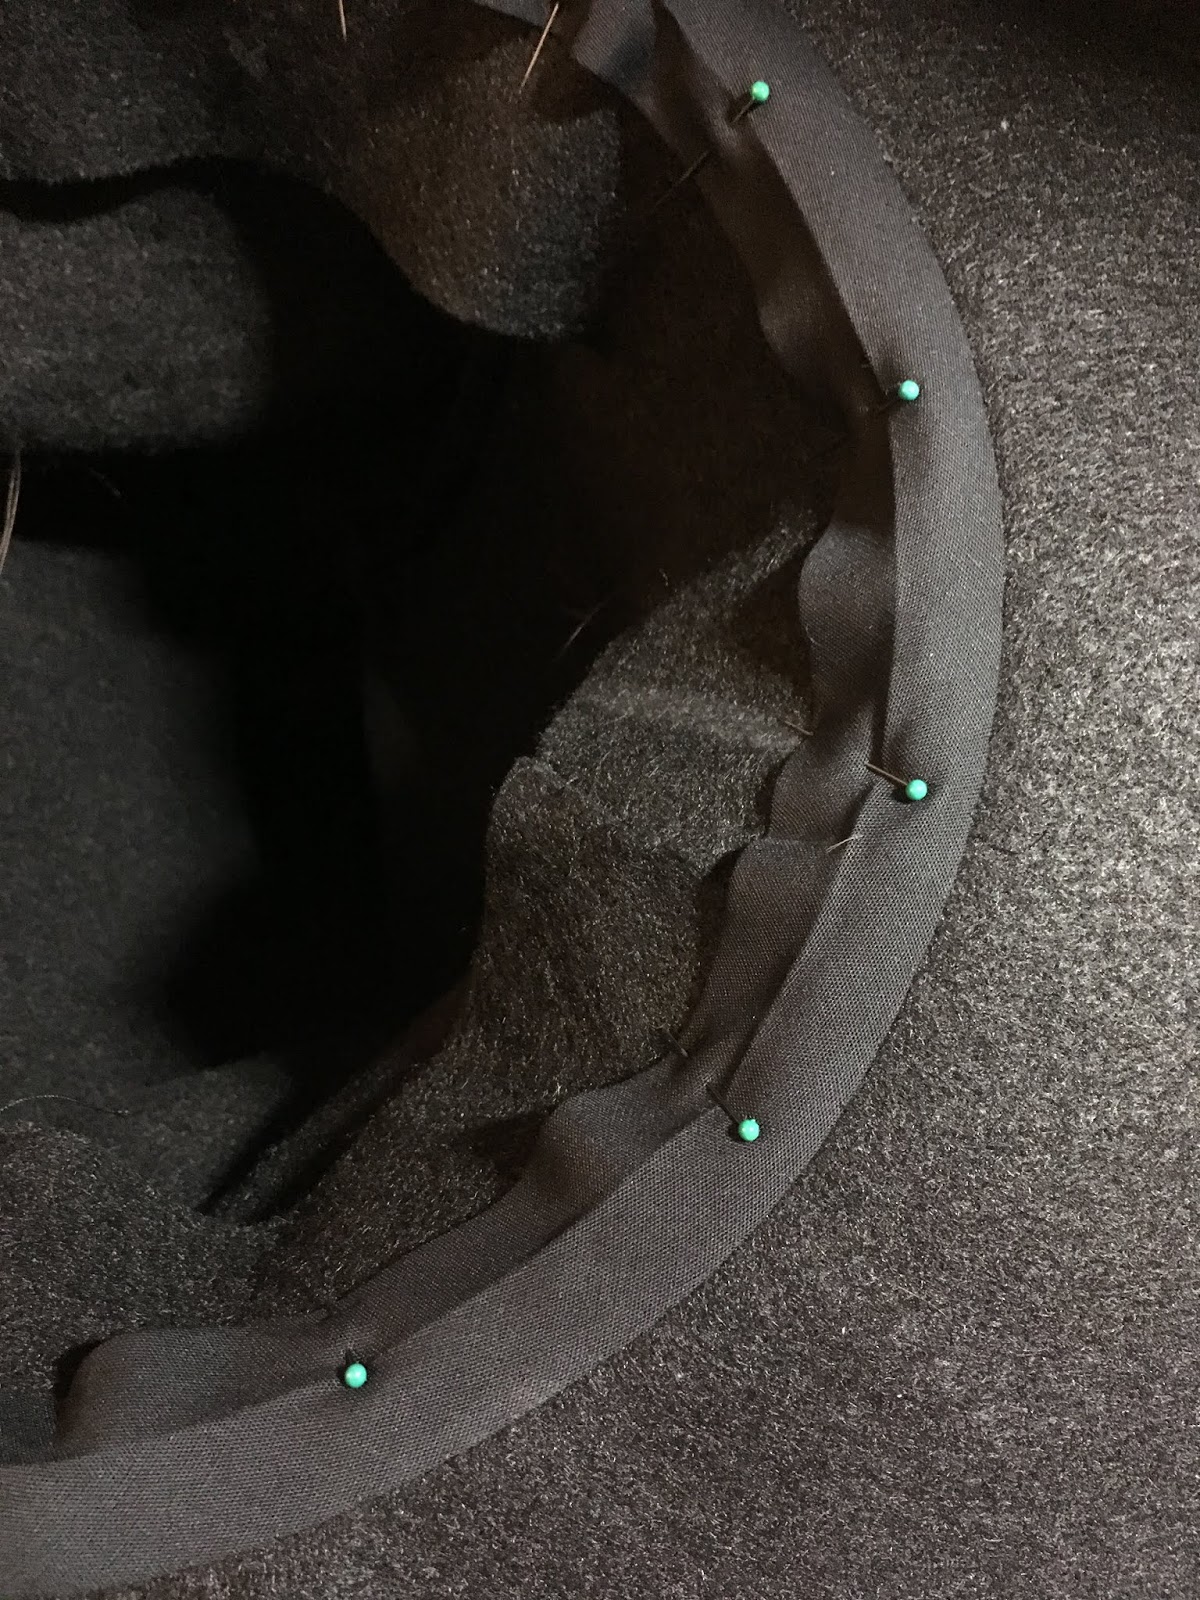
This isn't something that people can really see from the outside, but it makes me feel better to know that the seams are neatly tucked away.
Finally, I couldn't leave the tip of the hat without some decoration. Just a little bead and wire decoration to top it off!

And with that, the hat is finished! I'm quite happy with how it turned out. It's very large, and very ostentatious. Perfect for Taako! I'll admit to strutting around my apartment with it on, reveling in how dramatic it is. Just once or twice! (Or, every time I picked it up to work on it...)


This is a really fun project, and it has so many costume uses. Make a hat for your own witch or wizard costume. Make a hat just to wear to feel powerful! Decorate it however you like! The possibilities are endless. Go forth, and until next time, stay crafty!
No comments:
Post a Comment